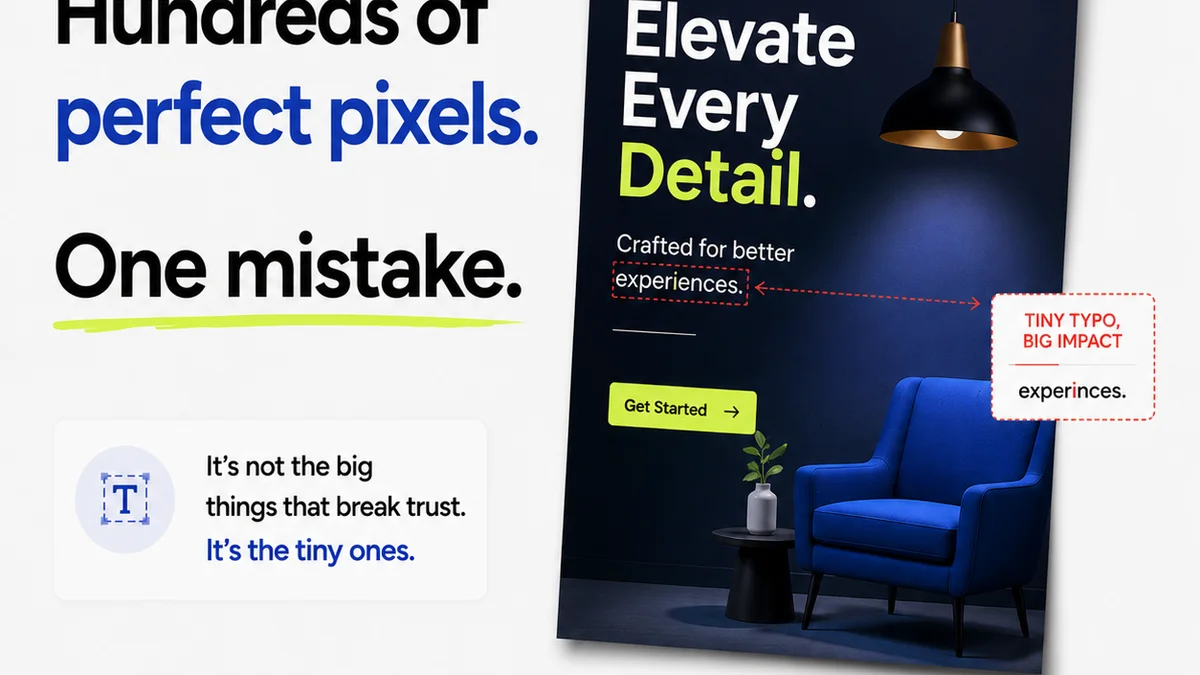
Everyone thinks a design proofing checklist is about catching typos. Or maybe making sure the logo is the right color. That’s part of it, sure. But it’s not the whole story.
The real truth? A robust design proofing process, guided by a smart checklist, is the bedrock of client trust and project profitability. It’s not just a quality gate; it’s a relationship builder.
1. Beyond Pixel-Peeping: The Strategic Proofing Mindset
Most teams treat proofing like a final sweep for errors. A quick once-over before hitting send. This is a tactical mistake.
Strategic proofing isn’t just about finding flaws. It’s about ensuring the design aligns with the brief, satisfies the client’s objectives, and sets the stage for successful implementation.
The True Purpose of Proofing
- Confirm strategic alignment.
- Validate against project goals.
- Ensure brand consistency.
- Verify user experience.
- Anticipate client questions.
When you shift your focus from mere error detection to strategic validation, your entire approach changes. The checklist becomes a tool for proactive problem-solving, not just reactive correction.
2. The Core Components of a Comprehensive Design Proofing Checklist
Your checklist needs to be more than a generic list. It must be tailored to your agency’s workflow and client needs. But there are universal elements every team should cover.
Content & Copy
This is where many proofing processes falter. It’s not just about spelling.
- Accuracy of all text (headlines, body copy, CTAs, disclaimers).
- Grammar and punctuation (AP Style, Chicago, or client-specified).
- Tone of voice and brand consistency.
- Legal disclaimers and required legal copy.
- Correct URLs and link destinations.
- Placeholder text (Lorem Ipsum) removed.
- Character counts for constrained spaces (e.g., social media posts, button text).
Visual Design & Branding
This goes beyond just aesthetics. It’s about adherence to brand guidelines and design intent.
- Brand logo usage (correct version, clear space, minimum size).
- Brand color palette adherence (correct HEX, RGB, or Pantone values).
- Typography hierarchy and legibility (font families, weights, sizes, leading, tracking).
- Image and illustration quality, relevance, and licensing.
- Layout consistency across all screens/pages.
- Adherence to established design systems or style guides.
- Accessibility considerations (contrast ratios, touch target sizes). See WCAG guidelines for more.
Functionality & User Experience (UX)
For interactive designs, this is critical. Does it work as intended?
- Interactive elements (buttons, links, forms) functioning correctly.
- Navigation flow and intuitiveness.
- Responsiveness across target devices and screen sizes.
- Loading speeds and performance optimization.
- Error states and feedback mechanisms.
- User journey validation against defined tasks.
Technical & Production Readiness
Preparing for handoff or final deployment.
- File formats and naming conventions.
- Resolution and output settings for print or web.
- Metadata and alt text for digital assets.
- Version control and file organization.
- Compatibility checks with target platforms or browsers.
3. Tailoring Your Checklist: The Agency-Specific Edge
A one-size-fits-all checklist is a blunt instrument. You need to refine it for your specific context.
Client-Specific Requirements
Every client has unique needs and brand guidelines.
- Specific brand voice or terminology.
- Mandatory legal or compliance statements.
- Approved imagery or stock photo libraries.
- Technical constraints or platform requirements.
Project Type Customization
A website differs vastly from a social media campaign or a print ad.
- Websites/Apps: Focus on UX, responsiveness, CTAs, SEO elements, accessibility.
- Social Media: Adherence to platform specs, character limits, hashtag usage, visual impact.
- Print Collateral: Bleed, trim, color modes (CMYK vs. RGB), resolution, paper stock considerations.
- Video/Motion Graphics: Frame rates, codecs, aspect ratios, audio levels, subtitle accuracy.
Team Roles and Responsibilities
Who is responsible for what part of the proofing process?
Clearly define roles. Is it the designer, copywriter, project manager, or a dedicated QA person? Assigning ownership prevents items from falling through the cracks.
4. Implementing the Checklist: Process Over Paper
A checklist is useless if it’s just a document gathering dust. It needs to be an active part of your workflow.
Integration is Key
Don’t treat proofing as an afterthought. Build it into your project phases.
Use it at internal milestones (e.g., after initial design, before client review) and before final client delivery. This prevents late-stage discoveries that derail timelines.
Digital Tools for Digital Workflows
Spreadsheets are fine, but they lack dynamism. Modern tools offer better collaboration and tracking.
Consider tools that allow for annotation, version comparison, and clear approval workflows. This makes the process transparent and auditable.
Training and Buy-In
Your team needs to understand *why* the checklist exists and *how* to use it effectively.
Conduct training sessions. Explain the strategic importance. Get buy-in from designers, copywriters, account managers, and project managers alike. Make it a team effort.
Where Revue Fits In
This is where a centralized feedback and approval platform like Revue becomes invaluable. It’s not just about collecting comments; it’s about structuring the entire proofing process.
Revue allows you to:
- Centralize Feedback: All comments, markups, and discussions happen in one place, linked directly to the creative asset. No more hunting through emails or Slack threads.
- Manage Revisions Clearly: Track every version, see what changed, and understand the context of each revision. This eliminates confusion about which version is the latest.
- Streamline Approvals: Define clear approval stages and get explicit sign-offs. This provides an auditable trail and reduces ambiguity.
- Maintain Quality Control: Integrate your design proofing checklist directly into the workflow. Assign specific checklist items to team members for sign-off, ensuring critical checks aren’t missed.
By using a tool like Revue, you transform your checklist from a static document into a dynamic, actionable part of your project management. It elevates proofing from a necessary evil to a strategic advantage.
5. Common Pitfalls and How to Avoid Them
Even with a checklist, things can go wrong. Be aware of the traps.
The
Frequently asked questions
What is the primary goal of a design proofing checklist?
While catching errors like typos is a part of it, the primary goal is to ensure the design aligns strategically with the project brief and client objectives, validates brand consistency, and anticipates potential issues before final delivery.
How often should a design proofing checklist be used?
A design proofing checklist should be integrated into multiple stages of the project. Use it after initial design iterations, before client reviews, and critically, before final sign-off or delivery to ensure all quality checks are met.
Can I use a generic checklist for all my projects?
Generic checklists are a starting point, but they are insufficient. You must tailor your checklist to specific client requirements, project types (web, print, social media), and your agency's internal processes to be truly effective.
Who is responsible for design proofing in an agency?
Responsibility should be clearly defined. It often involves multiple roles, including designers, copywriters, project managers, and potentially a dedicated QA specialist. Assigning ownership prevents critical checks from being overlooked.
How does a tool like Revue help with design proofing?
Revue centralizes feedback, manages revisions with clear version tracking, streamlines approvals with auditable sign-offs, and allows you to integrate your checklist directly into the workflow, ensuring quality control and transparency.