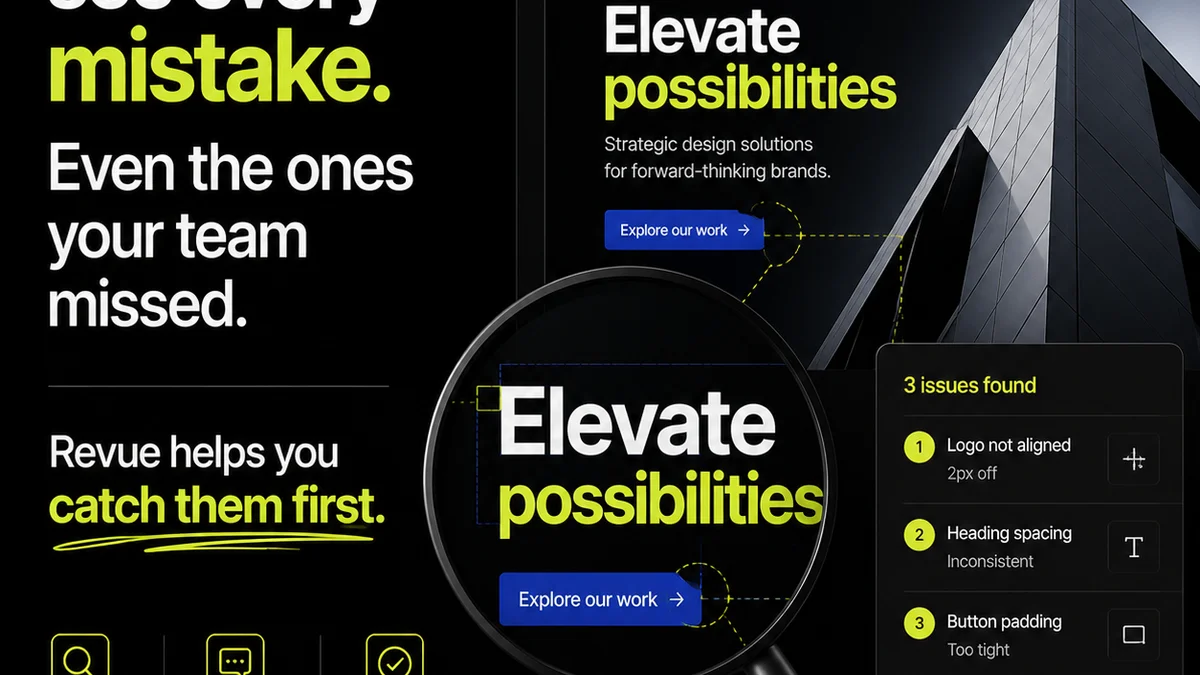
Everyone talks about design QA checklists. You’ve seen them. They’re full of things like “check spelling,” “ensure brand colors are used,” and “verify all links work.”
None of that is wrong. But it’s incomplete.
The hard truth is, a checklist that only covers the superficial will only catch superficial problems. Real design QA isn’t about ticking boxes; it’s about preventing downstream chaos. It’s about protecting your work, your client’s investment, and your agency’s reputation.
1. The Assumption: QA is Just a Final Check
This is the biggest misconception. Many teams treat QA as a gatekeeper at the very end of the process. Something you do *before* delivery, a last-minute scramble to catch typos.
This approach is fundamentally flawed.
It assumes that all the critical decisions were made correctly earlier. It assumes that the brief was perfectly understood and translated. It assumes that feedback loops were clear and adhered to.
When QA is an afterthought, it becomes a bottleneck, not a safeguard. It’s a stressful, rushed process that often leads to superficial fixes rather than addressing root causes. The real work of quality assurance needs to be woven throughout the entire design lifecycle.
2. The Hard Truth: QA is a Continuous Process
Quality assurance isn’t a phase; it’s a mindset. It starts the moment a project kicks off and continues until the final asset is deployed.
Every stage of the design process has its own QA needs. From the initial brief analysis to the final pixel push, there are opportunities to ensure accuracy, alignment, and adherence to project goals.
Think of it less as a “checklist” and more as a “quality system.”
This system relies on clear communication, robust documentation, and defined responsibilities.
The Brief: First Line of Defense
Your design QA checklist should start before any design work begins. The first critical QA step is scrutinizing the project brief.
- Does it clearly define the objective?
- Are the target audience and their needs understood?
- Are the technical constraints and deliverables explicit?
- Are there any ambiguities or contradictions?
If the brief is weak, the design will likely be misaligned. Catching this early saves immense rework later.
Concepting & Wireframing: Strategic Alignment
During early concept and wireframing stages, QA focuses on strategic alignment.
- Does the proposed direction address the core problem identified in the brief?
- Is the user flow logical and intuitive?
- Are the proposed features technically feasible within the project scope?
- Is the proposed solution aligned with the client’s business goals?
This isn't about aesthetics yet. It's about ensuring the foundational strategy is sound.
Visual Design: Brand and Usability
As visual design progresses, the QA scope broadens.
- Does the visual language align with the brand guidelines?
- Is the hierarchy of information clear?
- Is the design accessible? (e.g., color contrast, font sizes)
- Are interactive elements clearly indicated?
- Is the design responsive across intended breakpoints?
This is where many traditional checklists come in, but they should be built on the foundation of the earlier strategic QA.
Content & Copy: Clarity and Accuracy
Often overlooked, content is a critical part of the design. QA must include content review.
- Is the copy clear, concise, and error-free?
- Does the tone of voice match the brand?
- Is the content accurate and up-to-date?
- Is placeholder text (lorem ipsum) completely removed?
Bad copy can undermine even the best design. Proofreading is essential, but so is ensuring the copy *fits* the design and the overall message.
Development Handoff: Technical Precision
The handoff to development is another QA inflection point.
- Are all assets properly exported and named?
- Are style guides and design specifications complete and accurate?
- Are interactive prototypes functional and clearly documented?
- Are there any ambiguities that could lead to misinterpretation?
A smooth handoff prevents costly development errors and ensures the final product matches the design intent.
Pre-Launch Testing: The Final Polish
This is the stage most people associate with QA, but it’s only the culmination of earlier efforts.
- Cross-browser and cross-device testing.
- Functionality testing of all interactive elements.
- Performance testing (load times, responsiveness).
- Usability testing with target users, if possible.
- Final check for typos, visual glitches, and content errors.
If earlier QA stages were thorough, this phase should be about refinement, not major discovery.
3. Building Your Design QA Checklist: The ‘Why’ Behind the ‘What’
A truly effective design QA checklist goes beyond listing items. It forces you to understand the *reason* each item is important.
Focus on Project Goals
Every item on your checklist should tie back to a project objective. Why are we checking this specific thing? What problem does it solve? What risk does it mitigate?
Example: Instead of “Check spelling,” ask “Does the copy accurately convey the intended message to the target audience without errors that could undermine credibility?”
Define Deliverables Clearly
Your checklist should reflect the specific deliverables for each project. A website QA checklist will differ from a social media ad campaign checklist.
List specific file formats, dimensions, resolutions, and naming conventions required.
Involve the Right People
QA isn't just a designer's job. Or a project manager's. Or a client's.
It requires a collaborative effort.
- Designers: Own the pixel-perfect execution and adherence to design principles.
- Project Managers: Ensure alignment with brief, scope, and deadlines; manage feedback.
- Copywriters: Own content accuracy, tone, and clarity.
- Developers: Validate technical implementation and cross-platform consistency.
- Clients: Provide strategic and brand-level validation.
A distributed approach to QA makes it more robust and less burdensome on any single role.
Standardize and Document
Create a master QA checklist template, but allow for customization per project. Document any exceptions or specific testing required.
This creates consistency and a learning history for your team.
Focus on User Experience (UX) and Accessibility
These are non-negotiables for modern design. Your checklist must have dedicated sections for:
- Usability: Is the interface intuitive? Can users easily accomplish their tasks?
- Accessibility: Does it meet WCAG guidelines? (e.g., sufficient color contrast, keyboard navigation, screen reader compatibility). WCAG is the standard here.
- Performance: Does the design impact load times negatively? Are assets optimized?
Ignoring these aspects isn't just poor QA; it's bad business.
4. Common Pitfalls in Design QA
Even with a checklist, teams stumble. Here’s where they usually go wrong:
- Rushing the process: Treating QA as a race against the clock.
- Lack of clear ownership: No one is ultimately responsible for ensuring QA is done thoroughly.
- Inconsistent application: Using a checklist for some projects but not others.
- Ignoring feedback: Pushing back on QA findings without proper justification.
- Focusing only on visuals: Neglecting content, functionality, and technical aspects.
- Insufficient detail: Checklists with vague items that can be interpreted differently.
These pitfalls highlight why a systemic approach, rather than just a list, is crucial.
5. Where Revue Fits In
Managing the complexities of design QA, especially across multiple projects and clients, can be overwhelming. This is where a centralized platform like Revue becomes invaluable.
Revue streamlines the entire feedback and approval process, which is intrinsically linked to quality assurance.
- Centralized Feedback: All client comments, stakeholder input, and internal reviews live in one place. No more hunting through endless email threads or Slack messages. This ensures all feedback is captured and addressed.
- Version Control and Revision History: Easily track revisions and see exactly what changed between versions. This is critical for QA, as it allows you to verify that specific feedback was implemented correctly and to revert if necessary.
- Clear Approval Workflows: Define who needs to review and approve at each stage. This clarifies ownership and ensures that sign-offs are meaningful, preventing issues from slipping through because someone assumed another person would catch it.
- Audit Trail: Revue provides a clear record of all communication, feedback, and approvals. This is essential for accountability and for understanding the decision-making process if issues arise post-launch.
By providing a single source of truth for all creative feedback and approvals, Revue helps ensure that quality is built into the process, not just bolted on at the end. It transforms QA from a reactive chore into a proactive, integrated part of your workflow.
6. Final Thought
Is your design QA checklist a tool for true quality assurance, or just a way to feel busy before launch?
The difference lies in whether you're just checking for surface-level errors, or actively building a system to prevent them from happening in the first place.
Start questioning the 'why' behind every item. Embed quality checks throughout your workflow. Protect your work, your clients, and your sanity.
Frequently asked questions
What is the most common mistake agencies make with design QA?
The most common mistake is treating design QA as a final, rushed step instead of a continuous process integrated throughout the entire project lifecycle. This leads to superficial checks that miss fundamental issues.
How can a design QA checklist be more effective?
An effective design QA checklist focuses on the 'why' behind each item, tying it directly to project goals and potential risks. It also involves the right people at each stage and standardizes the process while allowing for project-specific customization.
Should clients be involved in the design QA process?
Yes, clients should be involved, but their role is typically strategic and brand-level validation. They provide crucial input on whether the design meets business objectives and brand standards. However, the technical and detailed execution QA is usually handled by the internal team.
How does a tool like Revue help with design QA?
Revue centralizes feedback, manages revisions, and provides clear approval workflows. This ensures all feedback is captured, changes are tracked accurately, and accountability is maintained, making the overall QA process more robust and less prone to errors.