Everyone thinks a design QA checklist is about catching typos and alignment errors. A quick once-over before sending it to the client. That’s the common assumption.
None of that is wrong. But it’s incomplete. Dangerously so.
The real truth? Your design QA checklist is the frontline defense for your agency’s reputation, profitability, and client relationships. It’s not about making things look pretty; it’s about ensuring your work performs, functions, and meets every single requirement – before the client even sees it.
1. The Deeper Truth: QA as Risk Management
Think of your design QA checklist as your agency’s risk management system. Every unchecked item is a potential point of failure. A missed detail can lead to:
- Client frustration and erosion of trust.
- Costly, time-consuming revisions.
- Damage to your agency’s reputation.
- Lost future business.
- Internal team friction and blame.
This isn't about being nitpicky. It’s about professional diligence. It’s about delivering on promises, every single time. A solid design QA process prevents headaches down the line.
2. Building Your Core Design QA Checklist
A generic checklist won’t cut it. Your QA process needs to be tailored to your agency’s specific services and client needs. But every checklist should cover these fundamental areas:
Visual Consistency & Brand Adherence
This is the most obvious layer. Does the design look and feel right?
- Brand Guidelines: Are colors, typography, logos, and imagery used correctly according to the client’s brand guide?
- Visual Hierarchy: Is the most important information immediately apparent?
- Layout & Spacing: Is everything aligned? Are margins and padding consistent? Is there enough white space?
- Image Quality: Are images high-resolution and appropriately cropped?
- Accessibility: Is there sufficient color contrast? Are font sizes legible? (See WCAG quick reference for standards).
Functional Accuracy & User Experience
For digital products, this is paramount. Does it work as intended?
- Interactivity: Do all buttons, links, and forms function correctly?
- Responsiveness: Does the design adapt correctly across different screen sizes and devices (desktop, tablet, mobile)?
- Content Accuracy: Is all copy present, correct, and free of typos or grammatical errors? Are placeholder texts removed?
- Data Integrity: Is any dynamic content displaying correctly? Are there any broken links or missing assets?
- Performance: Are image files optimized? Does the page load quickly?
Technical Specifications & Deliverables
This is where the rubber meets the road for production. Did you build it right for the intended output?
- File Naming Conventions: Are files named clearly and consistently?
- File Formats: Are assets delivered in the correct formats (e.g., JPG, PNG, SVG, PDF)?
- Color Modes: Is the correct color mode used (RGB for digital, CMYK for print)?
- Bleed & Trim: For print, are bleeds and trim marks correctly set up?
- Resolution: Is the resolution appropriate for the intended use (e.g., 72dpi for web, 300dpi for print)?
- Font Embedding: Are fonts properly embedded or outlined where necessary?
Client Requirements & Project Scope
This is the crucial link back to the brief. Did we actually build what was asked for?
- Objective Alignment: Does the design meet the stated project goals?
- Target Audience: Is the design appropriate for the intended audience?
- Call to Actions (CTAs): Are CTAs clear, prominent, and functional?
- Legal/Compliance: Are disclaimers, privacy policies, or other legal requirements met?
- Previous Feedback: Have all client comments from previous rounds been addressed?
3. Implementing a Robust QA Workflow
A checklist is only as good as the process it’s part of. Simply handing out a document isn’t enough.
Assign Clear Ownership
Who is responsible for QA? It shouldn't always fall on the designer or the project manager. Consider dedicated QA roles or rotating responsibility.
Integrate Early and Often
QA shouldn't be a last-minute scramble. Build checkpoints into your project timeline. Review work in progress, not just the final output.
Use a Centralized System
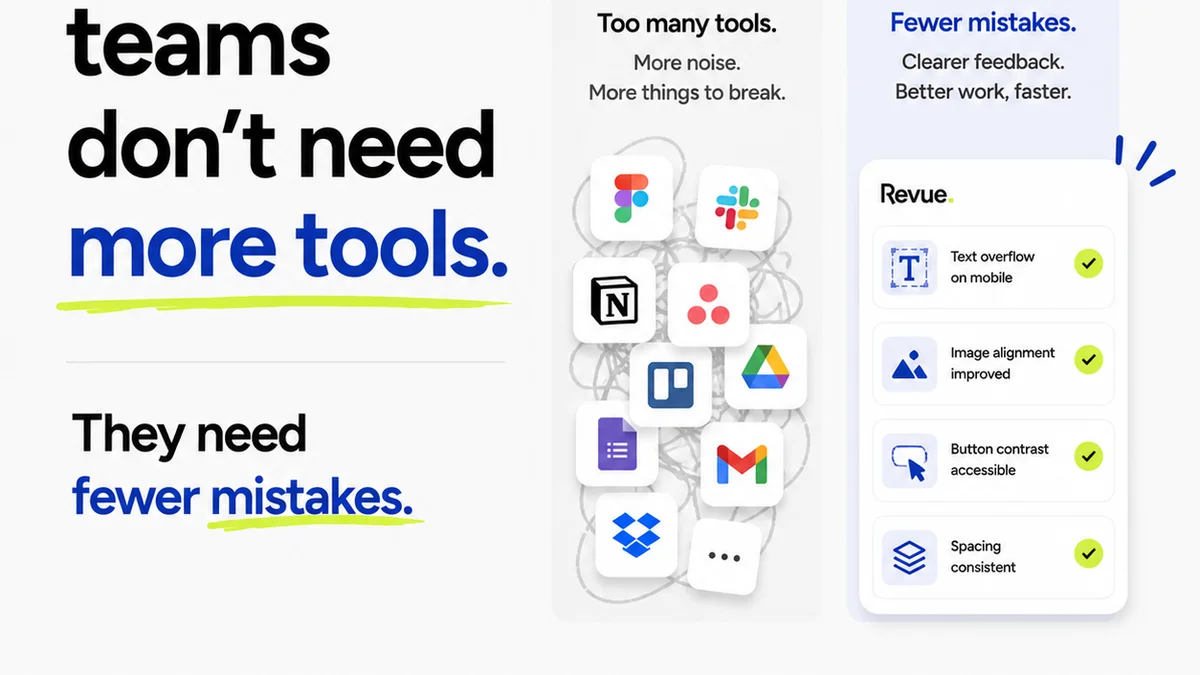
Scattered feedback in emails, Slack messages, and random documents is a recipe for disaster. You need a single source of truth.
Document Everything
Record QA findings, decisions, and approvals. This creates an audit trail and helps prevent the same mistakes from recurring.
Train Your Team
Ensure everyone understands the QA process, the checklist items, and the importance of their role in maintaining quality.
4. Where Revue Fits In
Managing feedback and revisions across multiple stakeholders can quickly devolve into chaos. This is where a tool designed for creative workflows becomes essential.
Revue provides a centralized hub for all client feedback, directly on the creative assets themselves. Instead of sifting through endless email threads, your team can see every comment, every revision request, and every approval in one place.
This visibility is critical for effective QA. When a designer knows all feedback is logged and addressed, they can confidently tick off items on their checklist. When a project manager needs to verify that a specific client request was implemented, they can see it in Revue’s revision history. It streamlines the entire quality assurance process, ensuring nothing falls through the cracks.
It helps build a clear audit trail of feedback and approvals, making your QA process more transparent and accountable.
5. Common Pitfalls to Avoid
Even with a checklist, agencies stumble. Watch out for these traps:
The
Frequently asked questions
What is the primary purpose of a design QA checklist?
The primary purpose is to systematically verify that a design meets all functional, visual, technical, and client-specific requirements before delivery. It acts as a risk management tool to prevent errors, ensure quality, and maintain client satisfaction.
Who should be responsible for design QA?
Responsibility can vary. Ideally, it involves a dedicated QA role, but designers, project managers, or even team leads can contribute. The key is clear ownership and integration into the workflow, not just a last-minute task.
How often should design QA be performed?
QA should not be a single, final step. It should be integrated throughout the design process, with checkpoints at various stages of development to catch issues early when they are less costly to fix.
Can a single checklist work for all projects?
No. While a core set of principles applies, the most effective design QA checklists are customized to the specific type of project (web, print, app), client requirements, and agency's services.