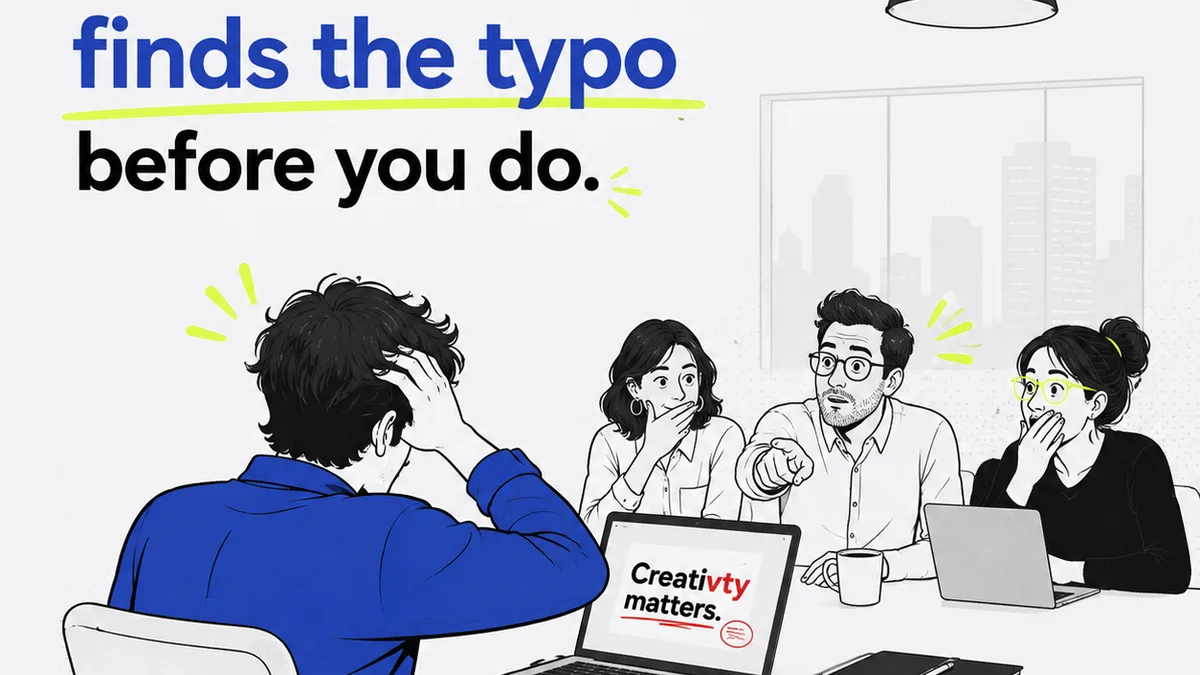
Everyone agrees a design QA checklist is essential. You probably have one. It’s a list of things to tick off: Is the logo present? Are the fonts correct? Is the copy proofread?
None of that is wrong. But it’s incomplete.
The hard truth? A checklist is just a tool. Its real value depends on the process and mindset behind it. A rigid checklist can even become a crutch, leading to missed issues and a false sense of security.
1. The Illusion of Completeness: Why Checklists Fail
Many teams rely on generic checklists. They’re easy to find online, seemingly comprehensive. But they rarely reflect the specific nuances of your agency’s workflow, your clients’ brand guidelines, or the unique challenges of a particular project.
This leads to a superficial review. You’re checking boxes, not truly assessing quality. The focus shifts from problem-solving to task completion.
Common Pitfalls of Generic Checklists
- Ignoring brand-specific requirements.
- Overlooking accessibility standards.
- Missing user experience flow issues.
- Failing to validate interactive elements.
- Neglecting performance implications.
A checklist should be a starting point, not an endpoint. It’s a guide, not a guarantee.
2. Building a Robust Design QA Process
A truly effective design QA process integrates checks at multiple stages, not just at the end. It involves people, communication, and a shared understanding of quality.
This means embedding quality assurance throughout the creative lifecycle, from initial concept to final delivery.
Stage-Gate Quality Checks
- Concept Review: Does the initial concept align with the brief and client goals?
- Wireframe/Prototype Review: Are user flows logical? Is the information architecture sound?
- Visual Design Review: Does it meet brand standards? Is it aesthetically cohesive? Are all elements correctly implemented?
- Content Review: Is the copy accurate, on-brand, and free of errors?
- Technical QA: Does the design translate correctly into the final build (if applicable)? Are there any performance bottlenecks?
- Accessibility Audit: Does it meet WCAG standards?
Each stage requires a different lens. A visual designer might catch a kerning issue, while a UX specialist flags a confusing navigation. A copy editor spots a typo a designer might miss.
3. The Human Element: Who Owns Design QA?
Design QA isn’t just a task for one person. It’s a shared responsibility. Assigning QA to a single individual, especially a junior team member, often leads to bottlenecks and incomplete reviews.
Empower your entire team to be quality advocates. This fosters a culture of ownership and continuous improvement.
Defining Roles and Responsibilities
- Creative Director: Oversees strategic alignment and brand integrity.
- Senior Designer: Reviews for aesthetic quality, consistency, and technical feasibility.
- UX/UI Specialist: Focuses on user flow, interaction design, and usability.
- Copywriter/Editor: Ensures accuracy, tone, and grammatical correctness of all text.
- Project Manager: Tracks QA progress and ensures timely feedback loops.
- Developer (if applicable): Validates design implementation and technical performance.
This cross-functional approach surfaces issues that a single reviewer might miss. It leverages diverse expertise.
4. Beyond Visuals: The Functional and Experiential Audit
Too often, design QA focuses almost exclusively on visual aesthetics. Is it pretty? Is it on-brand? These are important, but they’re only part of the picture.
A truly comprehensive QA process examines how the design *functions* and how it *feels* to the end-user.
Key Areas for Functional and Experiential QA
- Interactivity: Do all buttons, links, and interactive elements work as expected? Are hover states, transitions, and animations smooth and intentional?
- Responsiveness: Does the design adapt seamlessly across different screen sizes and devices? Test on actual devices, not just simulators.
- Performance: Are images optimized? Are there any elements that might slow down loading times?
- Accessibility: This is non-negotiable. Check color contrast ratios, keyboard navigation, screen reader compatibility, and semantic HTML structure. Standards like WCAG 2.1 AA are the minimum. (WCAG Guidelines)
- User Flow: Can a user easily complete key tasks? Are there any dead ends or confusing steps?
- Content Hierarchy: Is information presented logically and easy to scan?
These elements are crucial for user satisfaction and achieving business objectives.
5. Leveraging Technology for Smarter QA
Manual checks, while essential, can be time-consuming and prone to human error. Technology can augment your QA process, making it more efficient and thorough.
Tools can automate repetitive checks, flag potential issues, and streamline the feedback process.
Helpful Tools and Technologies
- Design Handoff Tools: Tools like Zeplin or Avocode help developers inspect design elements, measure spacing, and export assets, reducing misinterpretations.
- Prototyping Tools: Platforms such as Figma or Adobe XD allow for interactive testing and early identification of usability issues.
- Automated Accessibility Checkers: Browser extensions and web-based tools can quickly scan for common accessibility violations.
- Browser Developer Tools: Essential for inspecting code, checking responsiveness, and diagnosing performance issues.
- Centralized Feedback Platforms: Tools that consolidate client and internal feedback, track revisions, and provide clear approval trails.
Technology should support your process, not dictate it. The goal is to enhance human judgment, not replace it.
Where Revue Fits In
Managing creative feedback and approvals is where quality often breaks down. Scattered emails, endless Slack threads, and conflicting client comments create chaos.
Revue is built to bring order to this process. It centralizes all client feedback directly on the creative assets themselves. This means no more hunting for that one email or deciphering vague comments.
With Revue, you can:
- Centralize Feedback: All comments, markups, and discussions live in one place, tied to specific versions of the design.
- Manage Revisions Clearly: Track every iteration, see what changed, and understand the history of decisions.
- Streamline Approvals: Get clear, documented sign-offs, reducing ambiguity and potential disputes.
- Perform Targeted QA: Use the centralized feedback to conduct more informed QA, ensuring all points are addressed before final delivery.
This clarity and control are fundamental to a robust design QA strategy.
Final Thought
Is your design QA checklist a shield against errors, or a veil over process deficiencies? The difference lies in treating QA not as a final hurdle, but as an integral, ongoing part of the creative journey.
What’s one small change you can make today to elevate your team’s approach to design quality?
Frequently asked questions
What is the primary goal of a design QA checklist?
While often seen as a tool to catch errors, the primary goal of a robust design QA process, supported by a checklist, is to ensure the final creative output meets strategic objectives, brand standards, user needs, and technical requirements, ultimately leading to client satisfaction and project success.
How often should design QA be performed?
Design QA should not be a single, end-of-project event. It should be integrated throughout the creative process. This includes reviews at the concept stage, during wireframing, after visual design, during content integration, and before final delivery. Regular, multi-stage QA is far more effective than a single final check.
Who is responsible for design QA in an agency?
Design QA is a shared responsibility. While specific individuals may lead certain checks (e.g., a senior designer for visual consistency, a copy editor for text), the entire team should be aware of quality standards. The creative director typically oversees the overall quality and strategic alignment.
How can technology improve design QA?
Technology can enhance design QA by automating repetitive checks (like accessibility scans), facilitating design handoff to developers, enabling interactive prototyping for usability testing, and providing centralized platforms for feedback and version control. These tools streamline the process and help catch issues that might be missed manually.