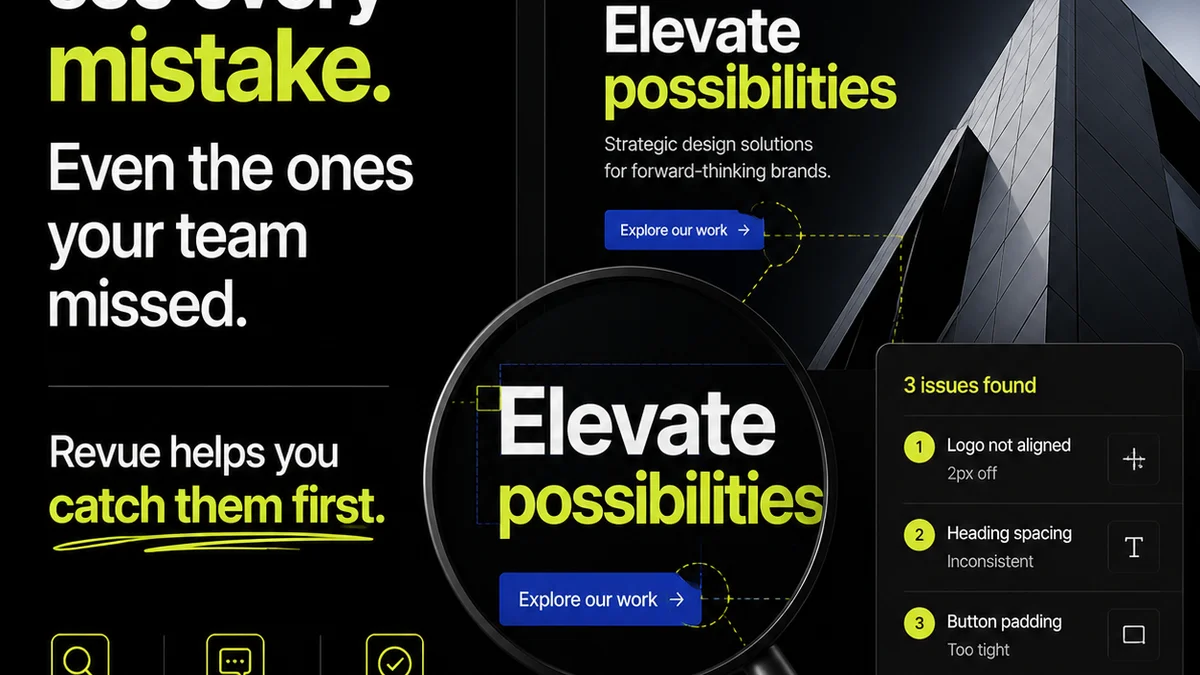
Most marketing teams think design quality assurance (QA) is about catching typos and making sure the logo is the right color. And sure, that’s part of it. But it’s a tiny part.
The real value of design QA for marketing teams isn’t just about spotting mistakes. It’s about protecting your brand, your budget, and your sanity.
1. Beyond Pixel-Perfect: The Strategic Imperative of Design QA
A comprehensive design QA process is more than a final check; it’s a strategic filter that ensures creative output aligns with business objectives and brand standards before it ever goes live.
Many teams treat QA as an afterthought. A quick once-over before hitting ‘send’ or ‘publish’. This approach is a recipe for costly errors and brand dilution.
The hard truth? Your design QA process is likely costing you more than you realize, simply because it's not structured, comprehensive, or integrated early enough.
What's Really at Stake
- Brand consistency across all touchpoints.
- Adherence to legal and compliance requirements.
- User experience and accessibility standards.
- Project timelines and budget overruns due to late-stage fixes.
- Client or stakeholder satisfaction and trust.
When QA is rushed or incomplete, these elements suffer. The result is often a frantic scramble to fix issues that could have been prevented with a smarter workflow.
2. Building Your Design QA Checklist: The Foundational Elements
A truly effective design QA checklist starts before the design is even finalized. It involves collaboration and clear criteria from the outset.
Think of it as a multi-stage process, not a single gate.
Pre-Production Checks
Before any design work begins in earnest, ensure you have:
- Clear creative briefs that define objectives, target audience, key messaging, and required deliverables.
- Established brand guidelines (logos, color palettes, typography, tone of voice).
- Defined technical specifications (file formats, dimensions, resolutions, accessibility standards like WCAG).
These foundational elements prevent many common errors before they’re even possible.
Content Verification
This is where many teams stumble. Content needs to be finalized and approved *before* it’s placed into design mockups.
- Proofread all copy meticulously.
- Verify all data, statistics, and claims.
- Confirm all calls-to-action (CTAs) are correct and functional.
- Ensure all links are accurate and lead to the intended destinations.
Don’t let designers chase typos. That’s not their job. It’s a resource drain.
Visual Consistency and Brand Alignment
This layer focuses on how the design looks and feels, ensuring it’s on-brand.
- Logo usage is correct (clear space, minimum size, correct variations).
- Color palette adheres to brand guidelines.
- Typography is used consistently and legibly.
- Imagery and iconography align with brand style.
- Layouts are balanced and visually appealing.
This ensures your brand speaks with one voice, visually.
Technical and Functional Checks
This goes beyond aesthetics. Does the design *work*?
- Responsiveness across different devices and screen sizes.
- Cross-browser compatibility for web assets.
- File formats and sizes meet delivery requirements.
- Interactive elements function as intended (buttons, forms, animations).
- Accessibility compliance (color contrast, alt text, keyboard navigation).
This is crucial for user experience and reach.
3. The Design QA Checklist in Action: A Practical Workflow
Implementing a design QA checklist isn't about adding bureaucracy; it's about building efficiency and reducing risk.
It requires a structured approach.
Stage 1: Internal Creative Review
This is the first line of defense. The creative team itself reviews the work against the brief and internal standards.
- Designer self-review.
- Peer review within the creative team.
- Check against the original brief and requirements.
Catching issues here saves significant time and cost.
Stage 2: Marketing/Content Review
This stage focuses on the messaging, accuracy, and strategic alignment.
- Marketing lead reviews for brand voice and campaign objectives.
- Content specialist verifies copy accuracy and CTAs.
- Legal/Compliance team (if applicable) reviews for regulatory adherence.
Ensure reviewers have the correct context and clear feedback channels.
Stage 3: Cross-Functional/Stakeholder Review
Broader input, but managed carefully to avoid scope creep.
- Product marketing reviews for feature accuracy.
- Sales team (if relevant) reviews for customer-facing accuracy.
- Key stakeholders provide consolidated feedback.
Set clear deadlines and feedback windows for these reviews.
Stage 4: Final QA & Pre-Launch Check
The last pass before deployment. This is a technical and functional deep dive.
- Dedicated QA specialist or team member.
- Final check of all items on the comprehensive checklist.
- Testing on target devices and browsers.
- Verification of all links and interactive elements.
This is not the time for subjective feedback; it’s for confirming functionality and adherence to standards.
4. Where Revue Fits In
Managing this multi-stage QA process can quickly become chaotic. Email chains get lost. Feedback is siloed. Version control becomes a nightmare.
Revue is built to streamline exactly these kinds of collaborative workflows.
Instead of juggling scattered feedback across emails, spreadsheets, and chat apps, you can centralize all client and stakeholder comments directly on the creative assets within Revue.
This means every piece of feedback, every revision request, and every approval is logged and visible in one place. Your team can track the status of each item, ensuring nothing falls through the cracks.
Designers get clear, contextual feedback. Approvers can see the history of changes. And the final QA stage becomes a much simpler process of verifying against a clear, documented record.
It’s about bringing order to the creative review process, making design QA not a burden, but a smooth, integrated part of your marketing operations.
5. Common Pitfalls and How to Avoid Them
Even with a checklist, QA can go wrong. Here are common traps and how to sidestep them.
Pitfall: Unclear Roles and Responsibilities
Who is responsible for what check? Without clarity, things get missed.
- Define specific QA tasks for each role (designer, copywriter, marketing manager, QA specialist).
- Document these responsibilities clearly.
Pitfall: Vague or Subjective Feedback
“Make it pop more” isn’t actionable. “Increase the contrast of the CTA button by 15%” is.
- Train your team on providing specific, objective feedback.
- Use tools that allow for annotation directly on the asset.
Pitfall: Reviewer Fatigue and Scope Creep
Too many reviewers, too late in the process, leads to endless revisions and missed deadlines.
- Limit the number of review stages and reviewers.
- Establish strict deadlines for feedback submission.
- Clearly define what is considered a ‘critical’ versus a ‘nice-to-have’ change.
Pitfall: Lack of Automation
Repetitive checks can and should be automated where possible.
- Utilize software for automated accessibility checks.
- Automate cross-browser testing for web projects.
Leverage technology to free up human reviewers for more complex tasks.
Final Thought
Design QA isn't just a technical step; it's a quality gate that safeguards your brand's integrity and your marketing investments. Is your current process a high-speed lane to polished, on-brand creative, or a bottleneck that introduces risk?
Frequently asked questions
What is the primary goal of a design QA checklist for marketing teams?
The primary goal is to ensure creative assets are error-free, on-brand, strategically aligned, and functionally sound before they are published or distributed. It protects brand integrity, saves resources, and improves overall campaign effectiveness.
How can a marketing team make its design QA process more efficient?
Efficiency comes from a structured, multi-stage process, clear roles and responsibilities, specific and actionable feedback, limiting the number of reviewers, and leveraging tools like Revue to centralize feedback and track revisions. Automating technical checks also helps.
What are the key components of a comprehensive design QA checklist?
Key components include: verifying content accuracy and CTAs, ensuring brand consistency (logo, colors, typography), checking technical specifications (file formats, responsiveness), confirming functional elements (links, buttons), and ensuring accessibility compliance.
When should design QA ideally happen in the marketing workflow?
Design QA should be an ongoing process, starting with pre-production checks (briefs, brand guidelines) and continuing through internal creative reviews, content/marketing reviews, stakeholder reviews, and a final technical/functional pre-launch check. It's not a single event.