Everyone thinks Canva is just for whipping up a last-minute Instagram graphic. It’s fast, it’s easy, and there are a million templates. None of that is wrong. But it’s incomplete.
The real power of Canva for marketing workflows isn’t just in its accessibility; it’s in how you structure your entire creative process around it. For agencies and in-house teams, relying solely on templates is a fast track to a diluted brand and missed deadlines. The hard truth? You need a system. A workflow that uses Canva as a powerful tool, not a crutch.
1. Standardize Your Brand Assets
Your brand isn't a suggestion. It's a rulebook. If every designer is pulling different versions of your logo, or if colors and fonts are slightly off, your marketing will look amateurish. Standardizing assets is the first, non-negotiable step to a professional Canva workflow.
Brand Kits: Your Single Source of Truth
Canva’s Brand Kit is your best friend here. Don't just upload your logo and call it a day. Go deep.
- Upload all logo variations (color, black & white, favicon).
- Define primary and secondary brand colors precisely. Use hex codes.
- Upload and assign all approved brand fonts. Ensure they are available for commercial use.
- Add brand elements like icons, patterns, or textures.
This isn't just about aesthetics. It’s about efficiency. When every team member has immediate access to approved, correctly formatted assets, they spend less time searching and more time creating. This minimizes errors and ensures brand consistency across all marketing materials.
Templates: Built, Not Just Found
Stop starting from scratch or relying on generic templates. Build your own. Think about your most frequent marketing collateral: social posts, email banners, simple one-pagers, presentation slides. Create master templates for these within your Brand Kit.
This ensures every piece of marketing collateral adheres to your established brand guidelines from the ground up. It’s the foundation of a scalable Canva marketing workflow.
2. Define Your Creative Brief and Feedback Loop
A beautiful design is useless if it doesn't meet the brief. The biggest bottleneck in any creative workflow isn't the design tool; it's the communication around it. Generic briefs lead to generic designs, and endless rounds of revision.
The Power of a Detailed Brief
Before anyone opens Canva, the brief needs to be crystal clear. What are the objectives? Who is the target audience? What is the key message? What are the required elements (CTAs, logos, specific copy)? What are the dimensions and file formats needed?
A well-defined brief prevents scope creep and sets clear expectations. It’s the roadmap for the designer.
Structured Feedback is Non-Negotiable
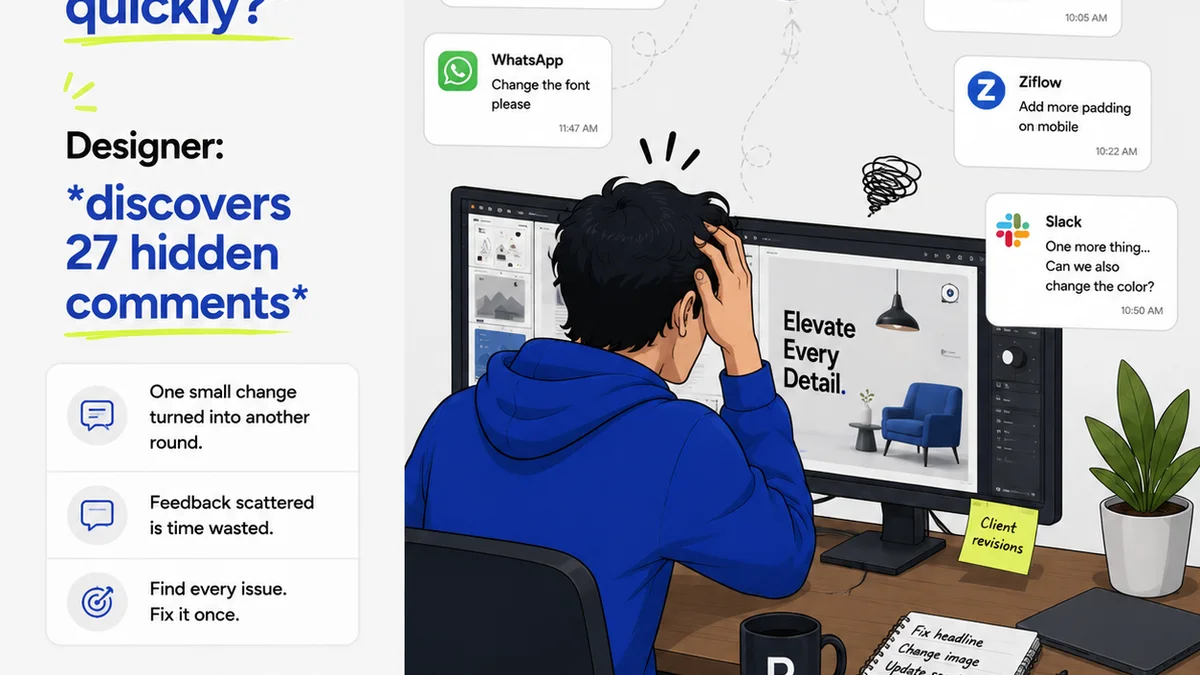
Unstructured feedback is the death knell of efficient workflows. Vague comments like “make it pop” or “I don’t like it” are not actionable. They waste time and create frustration.
Implement a system for feedback:
- Designate a single point person for feedback.
- Request specific, actionable comments.
- Use a platform that allows for annotation or clear, categorized comments.
- Set clear deadlines for feedback rounds.
Without this, your Canva usage will devolve into a chaotic email chain or a disorganized Slack thread, negating any efficiency gains from the tool itself.
3. Establish Clear Roles and Responsibilities
Who does what? When a vague answer exists, someone will assume a role, often the wrong one. This leads to duplicated effort, missed tasks, and projects falling through the cracks.
The Designer’s Role
The designer should be the guardian of the brand’s visual integrity. They build and maintain the master templates, ensure brand consistency, and execute complex designs. They are not glorified copy-paste operators.
The Approver’s Role
The approver’s job is to confirm the design meets the brief and brand standards. They provide clear, concise feedback. They are not the designer; they shouldn't be micromanaging font sizes or pixel placement unless it violates brand rules.
The Project Manager’s Role
The PM keeps everything on track. They ensure briefs are complete, deadlines are set, feedback is gathered and relayed, and final files are delivered. They are the orchestrator of the workflow.
Clear roles prevent confusion and ensure accountability. Everyone knows their part in the Canva marketing workflow.
4. Master Canva’s Collaboration Features (Wisely)
Canva offers team features, but they need to be managed. Simply adding everyone to a shared folder can lead to chaos if not governed by a clear process.
Shared Folders and Templates
Organize your Canva assets into logical folders: Brand Assets, Master Templates, Client Projects, Approved Marketing Materials. Ensure everyone understands the folder structure and purpose.
Version Control is Crucial
Canva doesn’t have robust version control built-in like Adobe Creative Cloud. This is a critical limitation for professional workflows. Always save a copy before making significant edits to an existing design.
Best Practice: Name your files clearly, indicating the project, version, and date. For example: `ClientA_SocialPost_V3_20231027.canva`.
Use Comments Sparingly
While Canva has commenting features, relying on them for primary feedback can still lead to disorganization. It's better suited for quick, in-the-moment notes between collaborators rather than formal review cycles.
The key is to use these features as part of a larger, defined process, not as the process itself.
5. Plan for Production and Delivery
A design isn’t finished when it looks good on screen. It needs to be delivered in the right format, at the right size, for the right platform.
Understand File Export Options
Canva offers various export options: JPG, PNG, PDF (Standard and Print), GIF, MP4, and SVG. Know which format is best for each use case:
- JPG: Best for web images where file size is a concern (photos, complex graphics).
- PNG: Ideal for graphics with transparency (logos, icons) or sharp lines.
- PDF Standard: Good for digital documents that need to maintain vector quality and interactivity.
- PDF Print: For professional printing.
- SVG: Scalable Vector Graphics, useful for logos and icons that need to be resized without losing quality (though Canva's SVG export can have limitations).
Always export at the highest quality setting appropriate for the intended use.
Naming Conventions and Archiving
As mentioned, consistent file naming is vital. Once a design is approved and exported, it needs to be stored logically. Create an archive system for final, approved assets. This makes retrieval easy and prevents accidental reuse of outdated designs.
Integrate with Your DAM or Cloud Storage
For agencies with a Digital Asset Management (DAM) system or robust cloud storage (like Google Drive or Dropbox), establish a clear process for moving final Canva assets into these systems. This ensures your marketing collateral is accessible to the wider team and properly cataloged.
Where Revue Fits In
Managing client feedback, revisions, and approvals is where many Canva-centric workflows start to fray. This is especially true for agencies juggling multiple clients and projects.
Canva is a design tool. It’s not a project management or client communication platform. Trying to manage feedback, track revisions, and get formal sign-offs within Canva itself, or via scattered emails and Slack messages, is a recipe for disaster.
This is where a tool like Revue becomes essential. It centralizes all client feedback on creative work, regardless of the source. You can upload your exported Canva designs (or link to them) and gather all comments in one place, with clear version tracking.
This visibility means:
- No more hunting for the latest version.
- No more deciphering ambiguous email feedback.
- Clear audit trails for approvals.
- Reduced revision cycles because feedback is precise and contextual.
Revue helps you bridge the gap between the creative output from tools like Canva and the necessary business processes of client management and project delivery. It ensures your design workflow remains efficient and professional, even as the complexity grows.
Final Thought
Canva democratized design, and that’s a good thing. But democratizing design doesn't mean abandoning process. The most effective marketing workflows aren’t about the tool; they’re about the system you build around it.
Are you using Canva as a foundational element of a robust, scalable creative process, or is it just a shortcut that’s costing you time and brand integrity in the long run?
Frequently asked questions
How can I ensure brand consistency when using Canva?
Utilize Canva's Brand Kit to upload and define all your logos, color palettes, and fonts. Create master templates within your Brand Kit for frequently used marketing materials. This ensures every piece of collateral starts with your approved brand assets.
What's the best way to manage client feedback on Canva designs?
Avoid relying solely on Canva's commenting features or scattered emails. Use a dedicated platform like Revue to centralize feedback, annotate designs, track revisions, and manage approvals. This provides clarity and an audit trail.
Can Canva handle complex marketing campaigns, or is it just for social media?
Canva can handle a wide range of marketing materials, from social posts and email banners to presentations and simple brochures, provided you have a structured workflow. For highly complex or integrated campaigns requiring advanced features, it may need to be complemented by other tools or professional design software.
How do I prevent multiple versions of the same design from causing confusion in Canva?
Since Canva lacks robust version control, establish a strict file naming convention (e.g., ProjectName_Version_Date.canva) and always save a copy before making significant edits. Organize designs into clear folders and archive approved final versions.