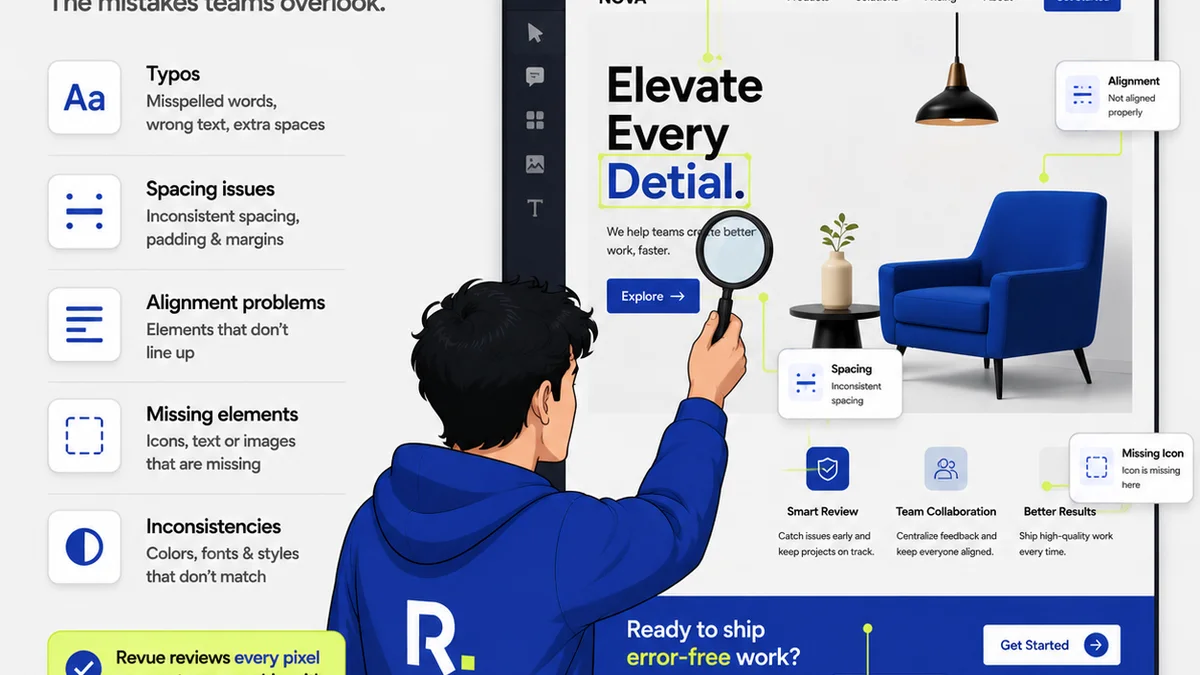
Everyone thinks design QA is about catching typos and misplaced pixels. That’s part of it, sure. But it’s not the whole story. Not even close.
The real goal of a strong design quality assurance workflow isn't just to find mistakes. It’s to build a system that prevents them, streamlines feedback, and ultimately, makes your team more efficient and your clients happier.
1. The Hard Truth: QA Isn't Just a Final Check
Most teams treat Quality Assurance (QA) as the last step before delivery. A quick once-over. A final gate. This is a mistake.
It’s a reactive approach. You’re just looking for what went wrong.
A truly effective design QA workflow is proactive. It’s integrated from the start.
It’s about building quality in, not inspecting it out.
The Cost of Late-Stage QA
When QA happens only at the end, the costs are high:
- Delayed Launches: Finding a major issue right before launch can push everything back.
- Increased Rework: Fixing something late often means undoing other work.
- Team Friction: Blame games between design, development, and QA teams are common.
- Client Dissatisfaction: Last-minute changes can erode client trust.
- Burnout: Teams scramble to fix issues, leading to stress and exhaustion.
This is why a better design QA process is essential for any agency or in-house team serious about its output.
2. Define 'Quality' for Your Team
Before you can build a workflow, you need to know what you're aiming for. What does 'quality' mean in your context?
This isn't just about aesthetics. It's about functionality, consistency, and meeting project goals.
Key Pillars of Design Quality
- Brand Consistency: Does it adhere to brand guidelines (colors, typography, tone)?
- User Experience (UX): Is it intuitive, accessible, and efficient for the end-user?
- Technical Accuracy: Are all assets correctly sized, formatted, and coded (if applicable)?
- Functional Correctness: Does it work as intended across devices and browsers?
- Content Integrity: Is all copy accurate, error-free, and in the right place?
- Accessibility Compliance: Does it meet standards like WCAG (Web Content Accessibility Guidelines)?
Document these criteria. Make them visible. They become your north star for QA.
3. Integrate QA Throughout the Project Lifecycle
The biggest shift you can make is moving QA from a single endpoint to an ongoing activity.
Think of it less as a final inspection and more as a continuous quality check.
Phased QA Integration
- Discovery & Strategy: Review project briefs, user personas, and technical constraints. Are there potential quality risks here?
- Concept & Wireframing: Check if the core user flows are logical and address the brief.
- Design & Prototyping: Review visual design against brand guidelines, UX principles, and accessibility standards. Test interactive elements.
- Development Handoff: Ensure all assets and specifications are clear and complete.
- Pre-Launch Testing: The final comprehensive check, but by this stage, major issues should be rare.
Each phase has specific quality gates. This prevents problems from snowballing.
4. Establish Clear Roles and Responsibilities
Who owns QA? Often, it's a murky area.
Is it the designer? The project manager? A dedicated QA tester?
Ambiguity leads to dropped balls. Clarity prevents them.
Defining QA Ownership
- Designers: Own the quality of their individual designs against brief and brand. Self-checking is the first line of defense.
- Project Managers: Own the overall process, ensuring QA steps happen, facilitating communication, and tracking issues.
- Developers: Own the quality of the implemented code and its functional correctness.
- Dedicated QA Testers (if applicable): Own systematic testing, bug reporting, and verification.
- Client: Own the final approval, but their feedback should be structured and informed by previous QA stages.
Ensure everyone understands their part in maintaining quality.
5. Standardize Your Testing Procedures
Ad-hoc checking is unreliable. You need a system.
A checklist is your best friend here. It ensures consistency and covers all the bases.
Creating a QA Checklist
Your checklist should be specific to the project type and phase. For a website, it might include:
- Visual Checks:
- Typography consistency (font families, sizes, weights, line-heights)
- Color palette adherence (hex codes, usage)
- Spacing and alignment
- Image quality and resolution
- Iconography consistency
- Responsiveness across defined breakpoints (e.g., desktop, tablet, mobile)
- Functional Checks:
- All links working correctly (internal, external, anchor links)
- Form submissions functioning as expected
- Interactive elements (carousels, accordions, modals) behaving properly
- Interactive states (hover, focus, active)
- Cross-browser compatibility (Chrome, Firefox, Safari, Edge)
- Cross-device compatibility (iOS, Android, different screen sizes)
- Content Checks:
- Proofreading for typos and grammatical errors
- Accuracy of data and information
- Correct tone of voice
- Accessibility Checks:
- Sufficient color contrast ratios
- Keyboard navigation
- Alt text for images
- Semantic HTML structure
- Performance Checks (basic):
- Image file sizes
- Page load times (initial check)
This isn't exhaustive, but it's a solid start. Customize it for your needs.
6. Leverage Technology for Better Design QA
Manual checking is time-consuming and prone to error. Tools can automate much of this.
Think beyond just design software.
Helpful Tools
- Design Software Plugins: Tools within Figma or Sketch can check for inconsistencies in spacing, typography, or color.
- Browser Developer Tools: Essential for inspecting code, checking responsiveness, and debugging front-end issues.
- Cross-Browser Testing Platforms: Services like BrowserStack or LambdaTest allow you to test on a vast array of devices and browsers.
- Website Performance Tools: Google PageSpeed Insights or GTmetrix can identify optimization opportunities.
- Accessibility Checkers: Browser extensions like WAVE or Axe can highlight accessibility violations.
- Feedback & Collaboration Platforms: Tools that centralize comments and track revisions are critical.
The right tools make your QA process faster and more thorough.
7. Foster a Culture of Quality
Ultimately, workflow and tools are only as good as the people using them.
You need a team that values quality and understands its importance.
Building a Quality Mindset
- Training: Educate your team on QA best practices, accessibility standards, and the tools you use.
- Open Communication: Create an environment where team members feel comfortable pointing out potential issues without fear of blame.
- Feedback Loops: Regularly discuss QA findings in team retrospectives. What can be improved?
- Recognition: Acknowledge and reward attention to detail and proactive quality efforts.
- Client Education: Help clients understand the QA process and why it’s important for their project's success.
When quality is a shared goal, everyone contributes to a better outcome.
Where Revue Fits In
Managing feedback and tracking revisions is central to a smooth design QA workflow. Scattered emails, endless Slack threads, and lost comments are the enemy of quality.
Revue provides a central hub for all client feedback on creative assets. Instead of hunting through different channels, all comments, annotations, and approvals live in one place, tied directly to the specific version of the design.
This visibility is crucial. When a designer or developer is working on a revision, they can see the exact feedback and the history of changes. This reduces misinterpretations and ensures that every iteration addresses the necessary points.
Furthermore, Revue streamlines the approval process. Clear statuses on each version mean everyone knows where a project stands, preventing confusion and ensuring that only finalized assets move forward. This structured approach inherently supports your design QA efforts by making the entire feedback and revision lifecycle transparent and manageable.
Final Thought
Is your current design QA process a frantic last-minute scramble, or a seamless integration that builds confidence and excellence?
The difference isn't just in the outcome, but in the efficiency, the team morale, and the enduring quality of your work.
Frequently asked questions
What is the difference between QA and UAT?
Quality Assurance (QA) focuses on the internal process of ensuring a product meets specified standards and is free from defects during development. User Acceptance Testing (UAT) is the final stage where end-users or clients test the product to ensure it meets their needs and business requirements before launch.
How can I make my design QA process more efficient?
Improve efficiency by integrating QA throughout the project lifecycle, not just at the end. Standardize testing with checklists, leverage automation tools, and ensure clear roles and responsibilities for all team members. Centralizing feedback, like with Revue, also significantly speeds up the process.
What are the most common design QA mistakes?
The most common mistakes include treating QA as only a final step, lack of clear quality standards, undefined roles, inconsistent testing procedures, and failing to use appropriate tools. Rushing the process or not involving the right people are also frequent pitfalls.
How do I ensure accessibility is part of my design QA?
Integrate accessibility checks into your QA process from the beginning. This includes verifying color contrast ratios, keyboard navigation, alt text for images, and semantic HTML structure. Use accessibility checker tools and ensure your team is trained on WCAG guidelines.