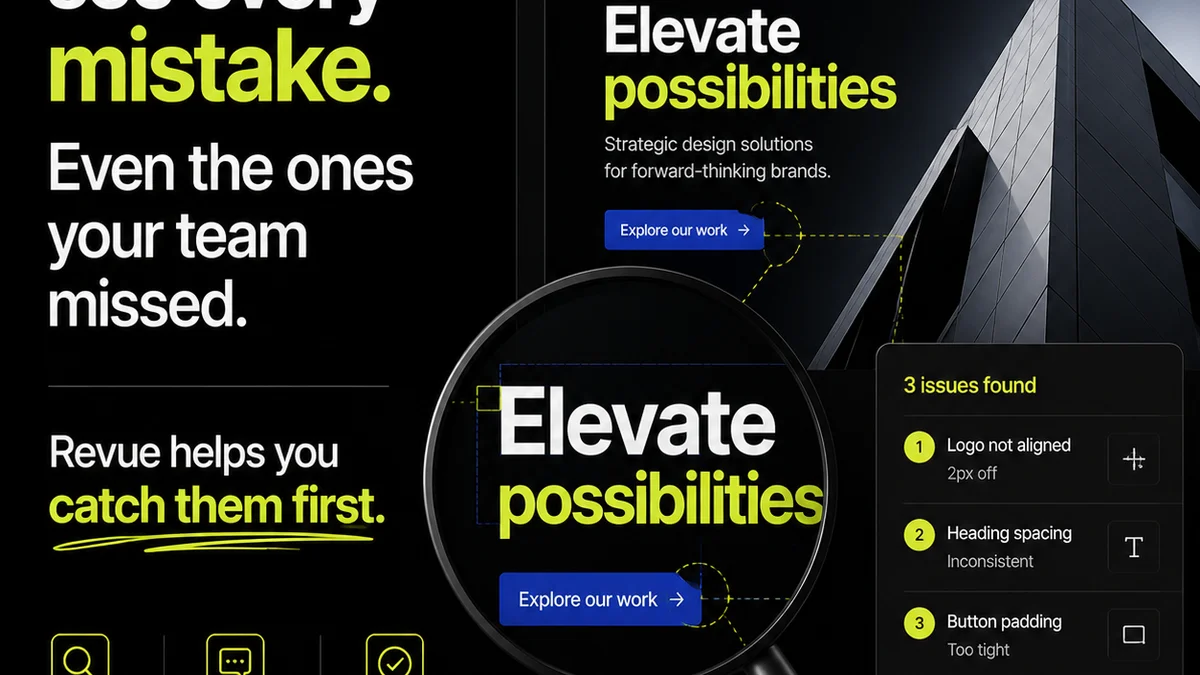
Everyone thinks a print QA checklist is about making sure the colors look right. That the ink isn't smudged. That the paper stock is what the client asked for.
None of that is wrong. But it’s incomplete.
The hard truth is that a truly effective print quality assurance process goes far beyond surface-level checks. It’s about anticipating every potential failure point, from the initial brief to the final delivered piece. It’s about operational excellence, not just aesthetic vigilance.
1. The Deceptive Simplicity of Color
Color is the usual suspect. But “color check” is too broad. What does it really mean?
Spot vs. Process
Are you checking for accurate spot color reproduction (like Pantone)? Or are you verifying the CMYK build for process color elements?
Each has its own set of potential issues:
- Spot Color Shifts: Did the printer’s ink mix match the swatch? Are there variations across the print run?
- CMYK Build Inconsistencies: Is the black text actually K100, or a rich black that might cause trapping issues? Are gradients smooth or banded?
- Color Gamut Limitations: Was the design created with the intended print output in mind? Trying to hit a vibrant screen color with CMYK inks is a recipe for disappointment.
Calibration and Profiles
The proof is only as good as the monitor it’s viewed on. And the printer’s RIP and press are only as good as their calibration.
A print QA checklist needs to account for:
- Monitor Calibration: Is the design team’s monitor calibrated to a standard like SWOP or GRACoL?
- ICC Profiles: Are the correct ICC profiles being used in the design software and the print driver?
- Proofing Standards: Was a contract proof (calibrated, not just a digital printout) used for final sign-off?
2. Typography: The Unsung Hero (or Villain)
Type is often overlooked in print QA, but it’s a massive source of errors.
Legibility and Rendering
Small type can be a nightmare. What looks fine on screen can disappear or become muddy on paper.
Your checklist should include:
- Minimum Font Size: Are body copy fonts large enough to read comfortably at the intended viewing distance?
- Font Weight: Is the chosen font weight too light or too heavy for the size and paper stock? Thin fonts can disappear; bold fonts can bleed together.
- Kerning and Tracking: Are there awkward gaps between letters or overly tight spacing? This is especially critical for headlines and important text.
- Hyphenation and Justification: Is justified text creating excessive “rivers” of white space or awkward word breaks?
Font Integrity
Technical font issues are rampant if you’re not careful.
- Font Substitution: Were all fonts properly embedded or outlined before sending to print? If not, the printer’s system might substitute a similar, but not identical, font.
- Outline vs. Embed: For maximum safety, outlining fonts is often preferred, but it sacrifices editability. Know when to use which.
3. Layout and Composition: More Than Just Alignment
This goes beyond ensuring elements are centered or left-aligned. It’s about the integrity of the physical layout on the page.
Bleed, Trim, and Safety
These are fundamental but frequently messed up.
- Bleed: Does artwork intended to print to the edge extend sufficiently beyond the trim line? A common standard is 1/8 inch (3mm).
- Trim Marks: Are trim marks present and correctly positioned?
- Safety Margin: Is critical text and imagery kept away from the trim edge? A safety margin (often 1/8 inch or 3mm inside the trim) prevents content from being cut off.
- Live Area: Does all essential content fall within the live area?
Object Integrity
Are elements placed correctly? Are they the right size?
- Image Resolution: Is linked artwork at the correct resolution for print (typically 300 PPI at final size)? Low-res images look pixelated.
- Vector vs. Raster: Are logos and line art provided as vectors (EPS, AI, PDF) rather than raster images (JPG, PNG) to ensure scalability without quality loss?
- Layer Management: Are unnecessary layers, hidden objects, or stray points removed? These can cause unexpected issues in the print production process.
4. Finishing and Production: The Final Frontier
The job isn’t done when it comes off the press. The finishing touches are crucial.
Physical Attributes
These are the tactile elements that define the final product.
- Paper Stock: Is it the correct weight, finish (e.g., matte, gloss, uncoated), and color?
- Folding/Scoring: Are folds clean and accurate? Is scoring used appropriately for heavy cardstock to prevent cracking?
- Binding: Is the binding method (saddle stitch, perfect bind, spiral) correctly executed? Are pages aligned properly?
- Die-Cutting/Embossing/Foil Stamping: Are these special finishes precisely placed and free of defects?
Coating and Laminates
These add protection and visual appeal but require careful application.
- UV Coating/Varnish: Is it applied evenly? Does it obscure critical elements or cause color shifts?
- Lamination: Is it applied without bubbles, wrinkles, or peeling edges?
5. The Human Element: Communication and Workflow
Even with a perfect checklist, human error is possible. The process needs checks and balances.
Briefing and Handoff
Misunderstandings start here.
- Clear Specifications: Is the brief unambiguous about paper, finishes, quantities, and deadlines?
- File Naming Conventions: Are files named logically and consistently?
- Preflight Checks: Does the design file pass preflight checks for common errors (missing fonts, low-res images, incorrect color modes)? Tools like Adobe Acrobat Pro’s preflight are invaluable.
Proofing and Approval
This is where many quality issues slip through.
- Multiple Reviewers: Are there at least two sets of eyes on proofs before client sign-off?
- Clear Annotation: Are feedback and approval documented clearly? Vague feedback like “make it pop” is useless.
- Version Control: Is it obvious which version of the artwork is the final approved one?
Printer Communication
Your printer is a partner, not just a vendor.
- Technical Consultation: Did you consult with the printer early about their capabilities and requirements?
- Proof Approval Process: Is the printer’s proofing process understood and agreed upon?
Where Revue Fits In
Managing all these details across multiple projects and clients is where operational friction occurs. That’s where a centralized platform becomes essential.
Revue isn't just about collecting feedback; it's about structuring it. When you use Revue for print project approvals, you can:
- Centralize All Feedback: Instead of chasing down emails, all comments, annotations, and stakeholder approvals live in one place, tied directly to the artwork.
- Track Revisions Clearly: See exactly what changed between versions. Was that color adjustment intentional? Was the text typo corrected? This version history is crucial for QA.
- Streamline Approvals: Define clear approval workflows. Ensure all necessary stakeholders sign off before the job goes to print, reducing last-minute changes and errors.
- Maintain a Quality Check Record: The entire history of feedback, revisions, and approvals serves as your quality assurance record, invaluable for post-project review and client communication.
This structured approach moves print QA from a reactive scramble to a proactive, managed process.
Final Thought
The most successful agencies don't just have a print QA checklist; they have a print QA *system*. It’s integrated into their workflow, not bolted on as an afterthought. It’s about building quality in from the start, not just inspecting it at the end.
How much time do you spend fixing print errors versus preventing them?
Frequently asked questions
What are the most common print errors?
Common print errors include incorrect colors, low-resolution images, incorrect fonts or font substitutions, text too close to the trim edge, smudged ink, and paper stock issues. Many of these can be prevented with a thorough QA process.
How important is bleed in print design?
Bleed is critical when artwork is intended to print all the way to the edge of the page. It's an extra margin of artwork that extends beyond the trim line, ensuring that no unprinted white edges appear if the trim is slightly off. A standard bleed is typically 1/8 inch (3mm).
What's the difference between spot color and process color?
Spot colors are pre-mixed inks (like Pantone colors) used for specific, accurate color matching, often for branding. Process colors (CMYK - Cyan, Magenta, Yellow, Black) are combined in various percentages to create a wide spectrum of colors. Checking spot colors ensures the exact brand shade, while checking process colors verifies the CMYK build accuracy.
How can I ensure text legibility in print?
Ensure text is at an adequate size for its intended viewing distance, use appropriate font weights (avoiding overly thin or thick options for small sizes), check for proper kerning and tracking, and be mindful of hyphenation and justification issues that can create readability problems. Always proofread final copy carefully.