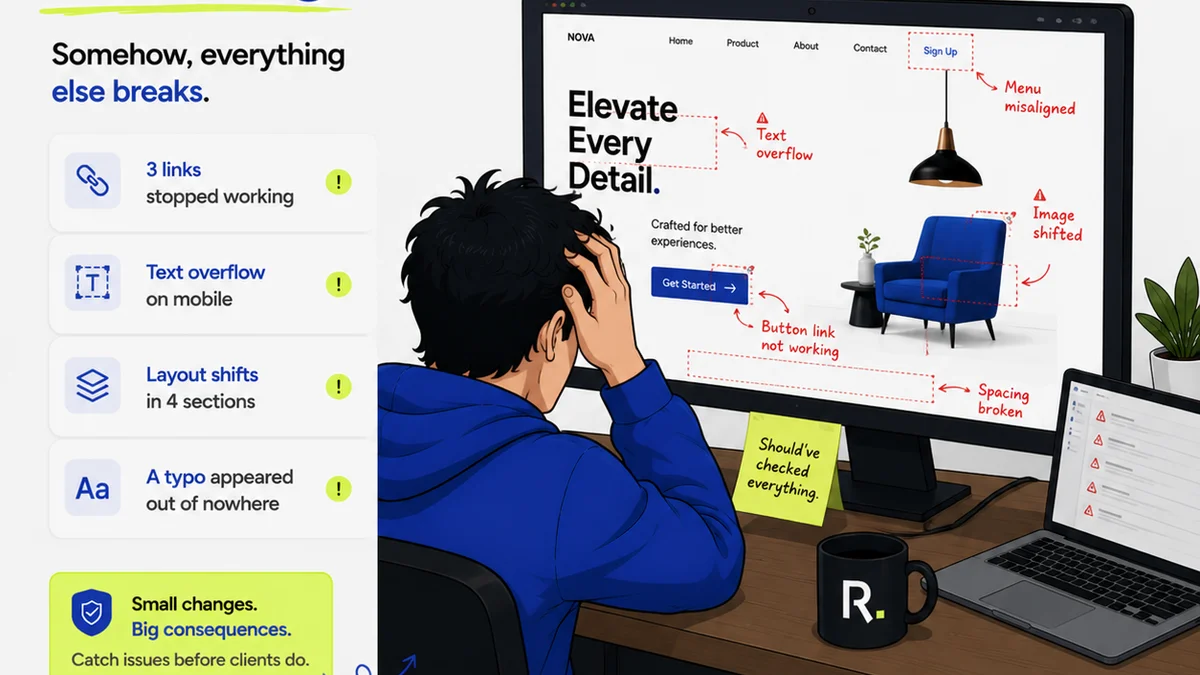
Everyone knows design QA means checking for typos and making sure images load. It sounds simple. Almost boring.
But that’s not the whole story. That’s just the surface.
The real work of design quality assurance (QA) is about preventing downstream chaos. It’s about protecting your agency’s reputation and your client’s sanity. It’s about building processes that catch problems before they become expensive emergencies.
1. The Assumption: QA is Just a Final Check
Many teams treat design QA as the final gate before handoff. A quick once-over. A box to tick.
This is a mistake. A costly one.
Effective QA isn't a single event; it's a continuous process woven into every stage of design. Waiting until the end means you’re not just checking for errors – you’re likely finding symptoms of deeper workflow issues.
2. The Hard Truth: QA is About Process, Not Just Polish
The true goal of design QA is to build a robust system that minimizes errors and maximizes clarity throughout the entire project lifecycle. It’s about proactive problem-solving, not just reactive bug fixing.
This requires a structured approach, clear responsibilities, and the right tools.
3. The Foundational Checklist: Core Elements
Before diving into specific deliverables, start with the fundamentals. These apply to almost any creative project.
3.1. Brand Consistency
Is the design on-brand? This goes beyond just using the correct logo.
- Logo Usage: Correct version, clear space, no distortion.
- Color Palette: All colors used are from the approved palette. Hex codes match. Accessibility contrast ratios are met.
- Typography: Approved fonts are used. Weights, sizes, and line heights are consistent and adhere to brand guidelines.
- Tone of Voice: Copy matches the established brand personality.
3.2. Usability and Accessibility
Can users easily interact with the design? Is it accessible to everyone?
- Clear Navigation: All links and buttons are clearly labeled and functional.
- Readability: Sufficient contrast, legible font sizes.
- Interactive Elements: States (hover, active, disabled) are defined and functional.
- Keyboard Navigation: All interactive elements are focusable and operable via keyboard.
- Screen Reader Compatibility: Semantic HTML, ARIA labels where necessary. (Check WCAG 2.2 for standards.)
3.3. Technical Accuracy
Does the design meet technical specifications?
- File Formats: Correct file types for intended use (SVG for logos, JPG/PNG for images, PDF for print).
- Resolution and Dimensions: Images and assets are high-resolution and correctly sized for their intended output.
- Bleed and Safe Zones: For print, bleed is correctly applied, and critical content is within safe zones.
- Code Hand-off Readiness: Assets are organized, named logically, and exported correctly for developers.
4. Digital Design QA: Specific Checks
Digital projects have unique considerations. The design QA checklist needs to reflect this.
4.1. User Interface (UI) Checks
Every element on the screen needs scrutiny.
- Layout and Spacing: Consistent margins, padding, and alignment across all breakpoints. Grid systems are followed.
- Visual Hierarchy: Important elements stand out. Information is organized logically.
- Interactive States: Hover effects, active states, focus indicators, loading spinners are present and correct.
- Error States: How are errors communicated? Are they clear and helpful?
- Empty States: What does the interface look like when there’s no data?
4.2. User Experience (UX) Flow
Does the user journey make sense?
- Task Completion: Can a user achieve key goals without confusion?
- Information Architecture: Content is organized logically and easy to find.
- Call to Actions (CTAs): Are they prominent, clear, and leading the user correctly?
- Feedback Loops: Does the system provide clear feedback after user actions?
4.3. Responsiveness and Cross-Browser/Device Testing
The design must work everywhere.
- Breakpoints: Check all defined breakpoints (mobile, tablet, desktop, etc.).
- Content Reflow: Ensure text wraps correctly and images adapt without breaking the layout.
- Cross-Browser Compatibility: Test on the latest versions of Chrome, Firefox, Safari, Edge.
- Device Testing: Test on actual iOS and Android devices, not just simulators.
4.4. Performance Considerations
A beautiful design that’s slow to load is a failed design.
- Image Optimization: Are images compressed appropriately without significant quality loss? (WebP is a good format.)
- Asset Loading: Are there excessive HTTP requests? Are fonts loading efficiently?
5. Print Design QA: Specific Checks
Print requires a different kind of precision.
5.1. Pre-Press Checks
This is where print QA gets serious.
- Bleed and Trim: Ensure artwork extends correctly into the bleed area and critical elements are within the safe trim area.
- Color Mode: Files must be in CMYK, not RGB, for professional printing.
- Resolution: Images must be at least 300 DPI for print.
- Font Embedding: All fonts must be embedded or outlined to prevent substitution.
- Overprint Settings: Check for unintended overprints that can cause color shifts.
5.2. Content Accuracy
Every word and number matters.
- Spelling and Grammar: A final, meticulous proofread.
- Data Accuracy: Phone numbers, addresses, dates, pricing – double-check everything.
- Legal Disclaimers: Ensure all required legal text is present and correct.
5.3. Physical Production Considerations
Think about the final printed piece.
- Paper Stock: Does the design work with the chosen paper?
- Finishing: Are coatings, die-cuts, or special folds accounted for in the design and production files?
6. Video and Motion Design QA
Motion adds layers of complexity.
- Frame-by-Frame Accuracy: Check timing, pacing, and transitions.
- Audio Sync: Ensure audio and visual elements are perfectly aligned.
- Resolution and Aspect Ratio: Rendered at the correct specs for the intended platform (web, broadcast, social).
- File Export Settings: Correct codecs, bitrates, and formats.
- Accessibility: Captions and transcripts provided?
7. Where Revue Fits In
Managing a comprehensive design QA checklist is tough. Especially when feedback comes from multiple sources, and revisions pile up.
This is where a centralized platform becomes invaluable.
Revue helps teams manage the entire feedback and approval process. Instead of scattered emails and Slack messages, all client comments live in one place, attached directly to the design asset.
This means:
- Centralized Feedback: No more hunting for comments. All feedback, from all stakeholders, is in context.
- Revision Tracking: Clearly see which versions were approved and why. Track the evolution of a design.
- Streamlined QA: Use the platform to run through your checklist. Assign specific QA tasks. Ensure all feedback is addressed before final sign-off.
- Visibility: Everyone on the team, including the client, has visibility into the review and approval status. This reduces ambiguity and speeds up decision-making.
By integrating QA checks into your workflow with a tool like Revue, you move from a chaotic end-of-project scramble to a controlled, efficient process.
8. Building Your Agency's QA Process
A checklist is only as good as the process it supports.
8.1. Define Roles and Responsibilities
Who is responsible for what? The designer? A dedicated QA person? The project manager? The client?
Clear ownership prevents things from falling through the cracks.
8.2. Standardize Your Tools
Use tools that facilitate clear communication and tracking. Design software, project management tools, and dedicated feedback platforms all play a role.
8.3. Create Templates
Don't reinvent the wheel for every project. Develop standard QA checklists tailored to different project types (web, print, video).
8.4. Foster a Culture of Quality
Encourage team members to speak up about potential issues, no matter how small. Quality is everyone’s job.
8.5. Iterate and Improve
Your QA process shouldn't be static. After each project, conduct a retrospective. What worked? What didn’t? How can the QA process be improved?
9. Final Thought
Is a perfect design QA checklist even possible? Probably not. The variables are too numerous, the contexts too varied.
But getting closer to that ideal isn't about finding a magic list. It’s about building a resilient system. A system that catches errors early, clarifies communication, and ensures that what goes out the door is not just visually appealing, but also technically sound and strategically effective.
How are you ensuring quality beyond the final sign-off?
Frequently asked questions
What is the most critical part of a design QA checklist?
While all parts are important, ensuring brand consistency and technical accuracy are often the most critical. Brand consistency protects your client's identity, while technical accuracy prevents costly production errors and ensures usability.
How often should design QA be performed?
Design QA should not be a single event at the end of a project. It should be integrated throughout the workflow. Perform checks after initial concepts, during development iterations, and a final comprehensive review before delivery or launch.
Can a design QA checklist help with client feedback?
Yes. A structured QA process, especially when using a tool like Revue, centralizes feedback, makes it actionable, and ensures all client comments are addressed systematically. This transparency often leads to smoother client approvals.
What's the difference between UI and UX QA?
UI (User Interface) QA focuses on the visual elements – layout, colors, typography, interactive states, and adherence to design specs. UX (User Experience) QA focuses on the user's journey – task completion, navigation flow, ease of use, and overall satisfaction with the interaction.