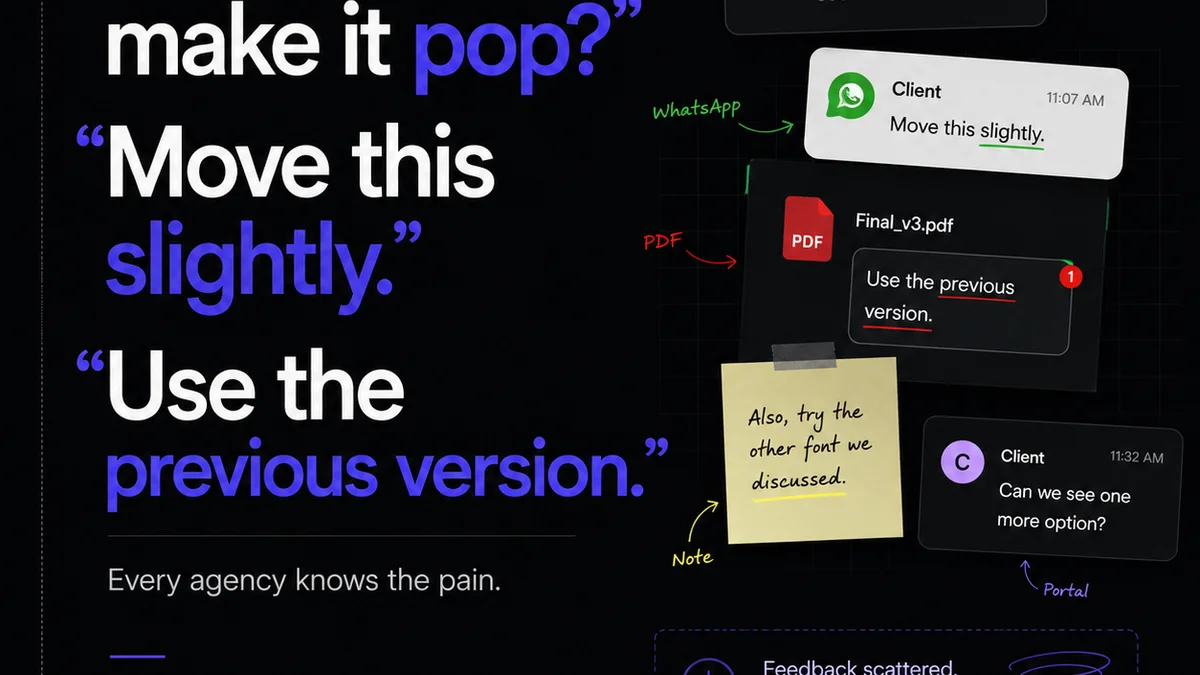
You’ve probably heard that a smooth client feedback loop and clear revision tracking are key to agency efficiency. And that’s not wrong.
But it’s incomplete.
The real bottleneck for growing agencies isn't just about getting feedback. It's about the quality checks *after* the feedback is in, and *before* anything goes to print or goes live. We’re talking about Packaging Quality Assurance (QA). It sounds like a simple final step, but it’s where many agencies bleed time and money without realizing it.
The Hard Truth: Packaging QA Is More Than a Checkbox
Most agencies treat packaging QA as a cursory glance. A final look-over to catch the obvious typos or misaligned logos. They assume that because the design is approved and the printer is ready, the job is essentially done.
This is a dangerous assumption.
Packaging QA is a critical gate. It’s the final defense against costly errors that can derail projects, damage client relationships, and tank your bottom line. When done poorly, it’s not just a delay; it’s a full-blown crisis waiting to happen.
1. The 'It Looks Good Enough' Approvals Trap
The biggest mistake? Accepting approvals at face value without a rigorous, structured QA process. Clients approve a PDF, a screenshot, or even a low-res image, and the agency moves on. This is where things go sideways.
The Illusion of Finality
Client approvals are rarely as final as they seem. What looks good on a screen can translate poorly to print. Colors shift, dimensions are off, and critical information gets lost in translation.
Your team might think: “The client signed off, so it’s their problem now.”
Wrong. It’s always your problem.
Common Approval-Stage Slip-Ups
- Color Profile Mismatches: RGB approved, CMYK printed. The result? Dull, unexpected colors.
- Resolution Discrepancies: High-res mockups hide low-res source files. Final output looks pixelated.
- Font Rendering Issues: Fonts that look fine on screen can break or substitute on different systems or RIP software.
- Bleed and Trim Errors: Margins too tight or too loose, leading to chopped-off elements or awkward white borders.
- Incorrect Dimensions: The final package doesn’t fit the product or shelf space as intended.
These aren’t minor details. They’re fundamental requirements for successful packaging.
2. Ignoring the Print Production Nuances
Designers and account managers often operate in a digital world. They approve proofs that don’t fully represent the tactile, physical reality of packaging.
Print production has its own set of rules and potential pitfalls that need to be QA’d specifically.
The Proofing Paradox
Digital proofs are essential, but they are not the final word. A physical proof, or at least a high-fidelity, color-accurate digital proof designed for print, is crucial. Agencies that skip this step are flying blind.
Key Print-Specific QA Checks
- Die-lines and Cut Lines: Are they accurate? Are they properly accounted for in the artwork?
- Varnish and Embossing/Debossing: Is the application correct? Is it positioned precisely?
- Foil Stamping: Is the foil area defined correctly? Is there enough clearance?
- Material Compatibility: Does the design work with the chosen stock? Will inks adhere properly?
- Folding and Gluing Dielines: Are the instructions clear and accurate for the manufacturer?
Your QA process must account for these physical attributes. Otherwise, you’re shipping a product that looks like a mistake.
3. The 'Someone Else Will Catch It' Mentality
This is a dangerous diffusion of responsibility. The designer thinks the production artist caught it. The production artist thinks the account manager did. The account manager thinks the client signed off, so it’s fine.
Nobody owns the final quality check.
Building a Dedicated QA Step
You need a dedicated point person or a checklist that everyone, *especially* the person responsible for the final sign-off, uses. This isn’t about blaming individuals; it’s about establishing a robust process.
This QA step should happen *after* final client approval but *before* the files are sent to print or manufacturing.
Who Owns Packaging QA?
- A Designated QA Lead: Someone whose sole job is to review final assets against the brief and specifications.
- A Comprehensive Checklist: Standardized questions and checks for every packaging project.
- Cross-Functional Review: Involve someone from a different department (e.g., a project manager if the designer is QAing) for a fresh perspective.
- Client-Provided Artwork QA: If the client provides logos or assets, QA them rigorously before they’re integrated.
This isn’t about adding bureaucracy; it’s about adding rigor.
4. Insufficient File Preparation and Handover
Even if the design is perfect, errors can creep in during file preparation or handover. This is often where the rubber meets the road, and where many agencies stumble.
The 'Send It and Forget It' Approach
Simply exporting a PDF and sending it off is a recipe for disaster. File naming conventions, correct color modes, embedded fonts, and proper bleed settings are non-negotiable.
Best Practices for File Prep and Handover
- Standardized File Naming: Consistent naming prevents confusion and ensures the correct version is used.
- Correct Color Modes: Always use CMYK for print unless otherwise specified (e.g., for specific spot colors or digital outputs).
- Embedded Fonts: Ensure all fonts are embedded or outlined correctly.
- Proper Bleed and Trim: Set up files with adequate bleed (typically 3mm or 1/8 inch) and ensure critical elements are within the safe zone.
- Layer Management: Clean, organized layers for easy review and modification by printers.
- Accurate Specifications Document: A clear, concise document detailing dimensions, materials, finishes, and quantities.
This detailed preparation prevents misinterpretation by the printer and reduces the need for last-minute corrections.
5. Not Learning from Past Mistakes
Every packaging project, whether it went smoothly or hit a snag, is a learning opportunity. Agencies that don’t capture these lessons are doomed to repeat them.
The Post-Mortem Void
Too often, once a project is delivered, the team moves on. There’s no formal review of what went wrong, what went right, and what could be improved for the next time.
Implementing a Feedback Loop for QA
- Project Retrospectives: After each packaging project, discuss the QA process. What issues arose? How were they handled?
- Update Checklists: Incorporate lessons learned into your standardized QA checklists.
- Printer Feedback: Actively solicit feedback from your print partners. They see countless files and can offer invaluable insights.
- Client Debriefs: Ask clients about their experience with the final product and if it met their expectations.
This continuous improvement loop is vital for scaling without sacrificing quality.
Where Revue Fits In
Managing the complexities of creative feedback, revisions, and approvals is where Revue shines. But it’s not just about streamlining client communication.
Revue provides a centralized hub where all project assets, feedback, and approval stages are logged and visible. This transparency is crucial for effective packaging QA.
Imagine this:
- All client feedback on design iterations is documented in one place.
- Revisions are tracked, showing exactly what changed and when.
- Final approval is a clear, timestamped event.
This clear audit trail means your QA team isn’t chasing down emails or trying to decipher Slack messages. They have a definitive record of what was approved, allowing them to focus on the critical final checks against that approved baseline.
When you can easily see the approved version and all the steps leading to it, your final QA becomes more efficient and more accurate. You’re not guessing; you’re verifying against a clear, documented history.
Final Thought
Growing an agency means scaling your processes. If your packaging QA is still a casual, after-the-fact check, you’re building on shaky foundations. Are you ready to move beyond the 'good enough' mindset and implement a QA process that truly protects your agency and your clients?
Frequently asked questions
What is the most common packaging QA mistake agencies make?
The most common mistake is accepting client approvals at face value without a structured, print-aware QA process. This often leads to overlooking critical issues like color profile mismatches, resolution problems, or bleed errors that only become apparent in print.
Who should be responsible for packaging QA in an agency?
Responsibility should be clearly defined. It could be a dedicated QA lead, a project manager, or a senior designer. The key is that one person or a small, designated team owns the final quality check using a standardized checklist.
How does digital proofing differ from print-ready QA?
Digital proofs are great for layout and content review, but they don't accurately represent print output. Print-ready QA involves checking for CMYK color accuracy, proper bleed and trim, font embedding, and ensuring all print-specific elements like varnishes or foil applications are correctly specified and positioned.
Can a project management tool help with packaging QA?
Yes, tools like Revue can significantly help by centralizing all feedback, revisions, and final approvals. This creates a clear, auditable trail, making it easier for the QA team to verify the final assets against the approved versions and specifications.