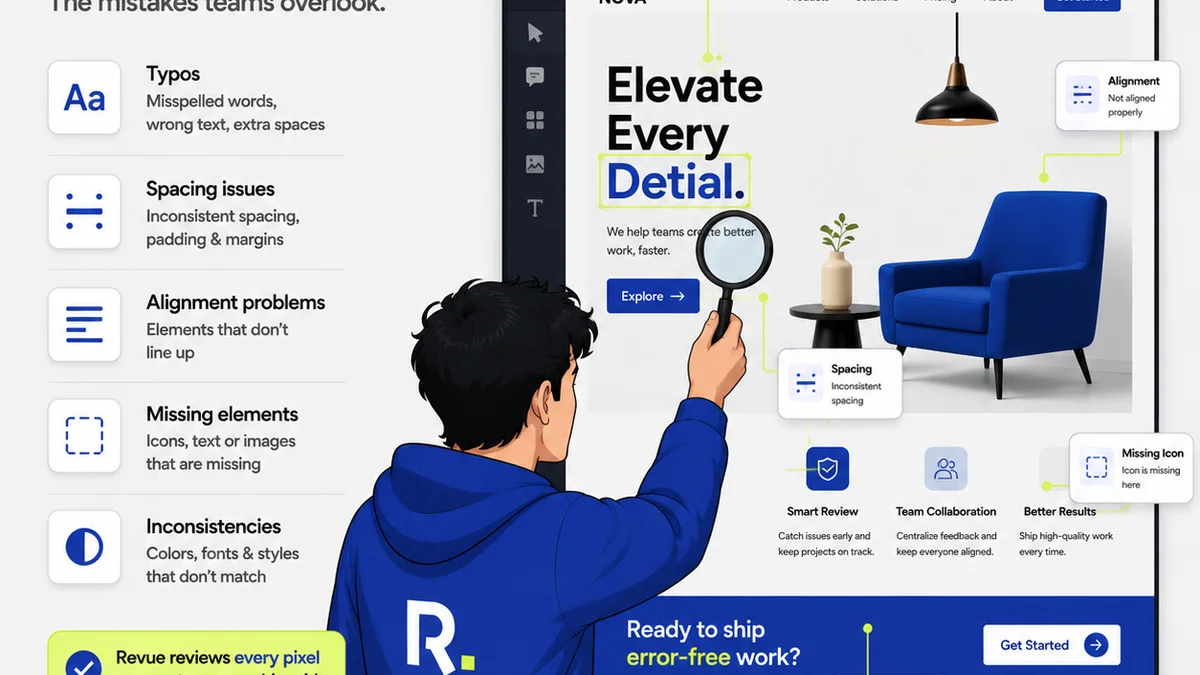
Everyone knows prepress is important. It’s the final gate before your beautiful creative work goes into the world – print, digital, whatever. A sloppy mistake here can tank a project, cost money, and embarrass your agency. So, you probably think you’ve got it covered. You check the resolution. You ensure the color mode is correct. You verify the bleed is set.
None of that is wrong. But it’s incomplete.
The hard truth is that a truly effective prepress checklist goes far beyond a few technical checks. It’s an operational system designed to catch human error, ensure client expectations are met, and protect your agency’s reputation. It’s about process, not just pixels.
1. Beyond the Pixels: The Strategic Prepress Mindset
Too many teams treat prepress as a purely technical task, a box to tick at the end. This is where things break down. Prepress isn't just about file output; it’s about aligning the final artifact with the project's strategic goals and client agreements.
Think about it: what happens if the client *asked* for a slightly softer image, but your standard prepress check insists on maximum sharpness? Or if a crucial piece of copy was approved in a different font than what’s in the final layout?
The Strategic Alignment Gap
This gap is where most prepress failures hide. It’s not about whether the PDF is technically sound; it’s about whether that PDF is *exactly* what the client signed off on, and what the project brief demanded.
- Did the client approve the specific shade of blue?
- Was the final copy version used?
- Are all linked assets accounted for and correct?
- Does the output format match the agreed-upon delivery spec?
These aren't just technicalities. They are the bedrock of client satisfaction and project success.
2. The Core Technical Checks (Done Right)
Let’s not throw the baby out with the bathwater. The fundamental technical checks are non-negotiable. But how you perform them matters.
This isn't just about running an automated preflight report. It’s about understanding what that report means and cross-referencing it with project specifics.
File Format and Resolution
Obvious, right? But are you checking the *intended* format? A client might ask for a print-ready PDF but need a web-optimized JPG for a social post. Ensure the output matches the delivery requirement.
Resolution checks are also critical. Are you checking at the *intended output size*? A 300 DPI image at 1x1 inch is vastly different from a 300 DPI image at 10x10 inches when it comes to print quality.
Color Spaces and Profiles
CMYK for print, RGB for digital. This is basic. But are you using the correct CMYK profile for the specific printing press or region? Are you ensuring embedded profiles are correct and consistent across all assets?
A common pitfall is relying on default profiles, which might not match the printer's specifications. Always confirm with your print partner.
Bleed, Trim, and Safe Zones
This is where print projects often get derailed. Ensure your bleed is sufficient for the trim. More importantly, check that no critical content (text, logos) is too close to the trim edge or encroaching on safe zones.
A 3mm bleed is standard, but some printers require more. Always confirm. And remember, safe zones are for *content*, not just eye candy. Text and essential graphics must live well within these boundaries.
Font Management
Are all fonts embedded? Are they the correct versions? Missing or improperly embedded fonts can lead to substitutions, rendering errors, or even outright print failures.
Outline fonts *only* when absolutely necessary and agreed upon. Outlining can prevent font issues but can also make text uneditable and sometimes results in jagged edges if not done correctly.
Overprint Settings
Incorrect overprint settings can cause colors to disappear or merge unexpectedly, especially with black text or spot colors. This is a subtle but common cause of print errors.
Always check your artwork for unintended overprints, particularly when working with spot colors or rich blacks.
3. The Content and Contextual Checks
This is where the
Frequently asked questions
What is the main goal of a prepress checklist?
The main goal of a prepress checklist is to ensure that all creative files are technically correct, strategically aligned with project requirements, and free from errors before they are sent for final production (print or digital). It minimizes the risk of costly mistakes and client dissatisfaction.
What are the most common prepress mistakes agencies make?
Common mistakes include incorrect color modes (RGB vs. CMYK), insufficient bleed, low-resolution images, missing font embedding, incorrect file formats, and failing to confirm final client approvals on content and design specifics.
How does a prepress checklist differ from a preflight report?
A preflight report is a technical scan that identifies potential print issues like missing fonts or incorrect color profiles. A prepress checklist is broader; it includes technical checks from a preflight report but also verifies content accuracy, client approvals, strategic alignment, and adherence to project briefs.
Should I always outline fonts in my artwork?
Outlining fonts should be a last resort, only used when font embedding fails or if specifically requested by the printer. Outlining makes text uneditable and can sometimes lead to jagged edges. Embedding fonts is the preferred method.