Design Quality Assurance. You’ve heard the term. Maybe you think it’s just about catching typos and checking for broken links. Or maybe it’s the last-minute scramble before a client presentation.
None of that is wrong. But it’s incomplete.
The hard truth is that design QA is a critical, strategic process that underpins the entire success of your creative projects. It’s not an afterthought; it’s a continuous thread woven through every stage of your workflow.
1. Beyond Pixel Perfection: The True Scope of Design QA
Most agencies think of design QA as the final polish. The spellcheck for visuals. But that’s a dangerously narrow view.
Real design QA is about validating that the creative output not only looks good but also functions as intended, aligns with the project brief, meets technical requirements, and ultimately, drives the desired business outcomes for the client.
It’s a multi-faceted discipline. Consider these areas:
- Brand Consistency: Does the design adhere to brand guidelines?
- Usability & Accessibility: Is it easy to use? Does it meet accessibility standards like WCAG?
- Technical Accuracy: Are all assets correctly sized, formatted, and implemented?
- Functional Integrity: Do interactive elements work? Are there broken links or missing states?
- Content Accuracy: Is all copy correct? Are dates, names, and figures accurate?
- Strategic Alignment: Does the design effectively communicate the intended message and achieve the project goals?
- Client Requirements: Does it meet all the specific deliverables and stipulations outlined in the brief?
Anything less than a holistic approach is a gamble.
The Cost of Neglecting Comprehensive QA
Skipping thorough design QA isn't saving time; it's creating future problems.
You’ll face:
- Costly rework and delays.
- Damaged client relationships due to errors.
- Reputational damage from subpar deliverables.
- Missed opportunities because the design didn't perform.
It’s the difference between a polished, effective deliverable and a project riddled with preventable mistakes.
2. Integrating Design QA into Your Workflow
The biggest mistake agencies make is treating QA as a separate, final step. It’s not a gate; it’s a guide.
Effective design QA is baked into the process from the start.
Phase 1: Briefing and Strategy
QA starts before a single pixel is placed.
Key Activities:
- Deep Dive into the Brief: Ensure every team member understands the project goals, target audience, and key performance indicators (KPIs).
- Defining Success Metrics: What does success look like for this project? How will we measure it?
- Establishing Brand Guidelines: Confirm access to and understanding of all relevant brand assets and rules.
- Accessibility Checkpoints: Identify any specific accessibility requirements from the outset.
If the brief is unclear, or the goals are undefined, the design can’t be effectively QA'd against them.
Phase 2: Concepting and Design
At this stage, QA is about alignment and feasibility.
Key Activities:
- Internal Critiques: Regular, structured reviews focusing on strategic alignment and adherence to guidelines.
- Technical Feasibility Checks: Are the chosen platforms or technologies capable of supporting the design?
- Usability Testing (Early): Simple, informal tests with internal users can catch major flow issues.
- Accessibility Audits (Preliminary): Checking color contrast, font sizes, and basic structure.
This isn't about finding every flaw, but about course-correcting early.
Phase 3: Development and Production
This is where traditional QA often kicks in, but it should be ongoing.
Key Activities:
- Component and Asset Verification: Checking that all individual elements (buttons, icons, images) are correctly built and formatted.
- Cross-Browser/Device Testing: Ensuring consistency across different platforms and screen sizes.
- Functional Testing: Verifying that all interactive elements (forms, navigation, animations) work as expected.
- Content Proofreading: A meticulous check of all copy for accuracy and grammar.
- Accessibility Compliance Checks: Using tools and manual checks to ensure WCAG compliance.
- Performance Testing: Ensuring load times are acceptable and assets are optimized.
This phase demands rigor and systematic testing.
Phase 4: Pre-Launch and Post-Launch
The final checks before going live and monitoring afterward.
Key Activities:
- End-to-End User Flow Testing: Simulating real user journeys to catch any missed issues.
- Final Content Review: One last look at all text and data.
- Live Site Monitoring: Tracking for any unexpected bugs or performance issues after launch.
- Analytics Review: Checking if the design is meeting the defined KPIs.
QA doesn't stop at the launch button.
3. Building a Robust Design QA Process
A haphazard approach to QA leads to a haphazard product. You need a system.
Checklists are Your Friend
Develop comprehensive checklists tailored to your project types. These should cover:
- Brand standards
- Accessibility requirements (e.g., color contrast ratios, keyboard navigation)
- Technical specifications (file formats, dimensions, responsive behavior)
- Content accuracy
- Functional testing scenarios
- Cross-platform compatibility
Use these religiously.
Dedicated QA Roles (Even Small Ones)
In smaller teams, one person might wear multiple hats. But ensure *someone* is explicitly responsible for overseeing QA.
In larger agencies, consider a dedicated QA specialist or team. Their sole focus is identifying and documenting issues, ensuring objectivity.
Leverage Tools Wisely
Technology can automate much of the tedious work.
- Linting tools: For code quality and consistency.
- Automated accessibility checkers: Like WAVE or Lighthouse.
- Cross-browser testing platforms: BrowserStack, LambdaTest.
- Proofreading software: Grammarly, Hemingway.
- Project management and feedback tools: To track issues and communication.
Tools augment human judgment; they don't replace it.
Establish Clear Communication Channels
How are bugs reported? How are they prioritized? How is resolution confirmed?
A clear, documented process prevents miscommunication and ensures issues are addressed efficiently.
Feedback Loops are Crucial
QA isn't just about finding errors; it’s about learning from them.
Regularly review QA reports to identify recurring issues. Use this data to refine your design and development processes, preventing future mistakes.
4. Where Revue Fits In
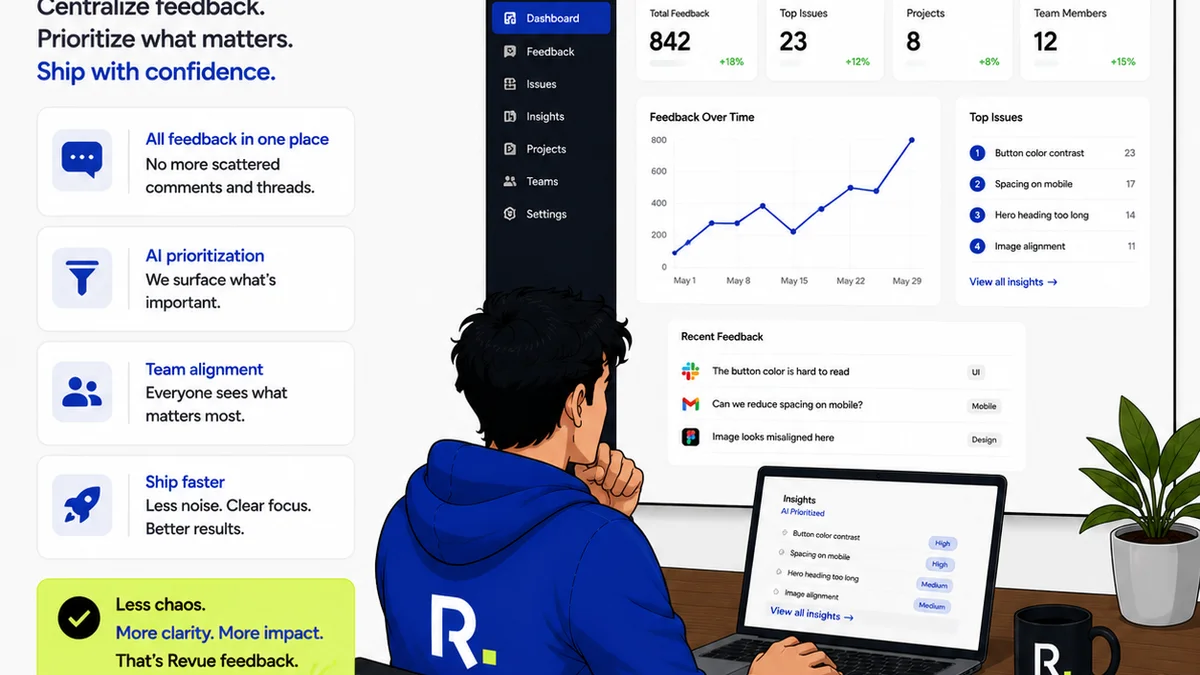
Managing feedback, revisions, and approvals across multiple stakeholders and project stages can be chaotic. This is where a centralized platform like Revue becomes essential for effective design QA.
Revue helps by:
- Centralizing Feedback: All client comments and team notes live in one place, linked directly to the creative asset. This eliminates scattered emails and lost messages, ensuring no feedback falls through the cracks.
- Providing Revision Visibility: Track the history of changes, understand which feedback led to which revisions, and see the evolution of the design. This context is vital for QA.
- Streamlining Approvals: Clearly defined approval workflows mean you know exactly when a stage is signed off, reducing the risk of moving forward with unaddressed issues.
- Facilitating Quality Checks: With all feedback and revision history accessible, your QA team (or designated individuals) can more easily verify that all requested changes have been implemented correctly and haven't introduced new problems.
By bringing order to the feedback and revision process, Revue empowers your team to conduct more thorough and efficient design QA, ultimately leading to higher quality deliverables.
5. Final Thought
Design QA is not a bureaucratic hurdle. It’s the scaffolding that supports exceptional creative work.
It's about diligence, strategy, and a commitment to delivering value that goes beyond aesthetics.
Are you treating design QA as a critical strategic process, or just another checkbox?
Frequently asked questions
What's the difference between design QA and testing?
Design QA is a broader concept focused on ensuring the design meets strategic, brand, and client requirements, including usability and accessibility. Testing is a component of QA, specifically focused on verifying functionality, performance, and technical accuracy across different environments.
Who is responsible for design QA?
Responsibility can vary. In smaller teams, it might be shared or fall to a project manager or lead designer. In larger organizations, a dedicated QA specialist or team is ideal. Ultimately, everyone involved in the project shares some responsibility for quality.
How can I make design QA more efficient?
Efficiency comes from integrating QA throughout the workflow, not just at the end. Use checklists, leverage automation tools, establish clear communication channels for bug reporting, and ensure thorough documentation of feedback and revisions.
What are the key elements of a design QA checklist?
A comprehensive checklist should cover brand consistency, accessibility standards (like WCAG), technical specifications (file formats, responsiveness), functional integrity, content accuracy, and strategic alignment with project goals.